Shijiazhuang Donghuan malleable iron technology co.,ltd




Air Hose Quick Connect Guide for 2026
Release time:
2026-05-18
Author:
Step-by-step air hose quick connect guide: connect and disconnect fittings safely, prevent leaks, and keep your air system efficient in 2026.

Connecting an air hose quick connect fitting is simple. First, line up the male and female ends. Push them together until you hear a click. Make sure the fit is tight and secure. To take it apart, pull back the collar. Then gently pull out the hose. Always wear safety glasses and gloves to protect yourself. Safety rules say you should check your equipment often. Only use the hose within the right pressure limits. Some common mistakes are leaks from bad seals and cross-threading. The table below shows new trends and problems people have:
| Application Area | Key Findings |
|---|---|
| Construction Crews | High abrasion resistance and quick-couplers are in demand. |
| Manufacturing Facilities | Predictive maintenance with RFID-tagged hoses is growing. |
| Global Logistics Hub | Anti-kink hoses cut failures by 50%, saving $42,000 annually. |
This guide helps you avoid mistakes. It also helps you get a leak-free and efficient air hose quick connect every time.
Tools and Materials

Before starting any work with air fittings, gather all the tools and safety gear you need. This helps you work faster and prevents mistakes.
Essential Tools
Air Hose
The air hose carries compressed air from the compressor to your tool. Choose a hose that matches the pressure rating of your air line. Inspect the hose for cracks or wear before each use.
Quick Connect Fittings
Quick connect fittings let you attach and detach the air hose quickly. These fittings come in different types. Each type has a unique locking system and affects how you connect or disconnect the air line.
Tip: Always match the fitting type to your air tools and compressor for a secure connection.
Here is a table showing the main types of quick connect fittings and their features:
| Type of Fitting | Connection Mechanism | Disconnection Mechanism | Key Features |
|---|---|---|---|
| American T-type (Tru-Flate) | Steel balls lock into grooves | Pull sleeve to release balls | High flow rate, durable, used in automotive repair |
| Industrial/Type D/Milton D | Spring maintains locked state | Pull sleeve to release | Widely used in North America |
| ARO 210 Type | Internal O-ring creates airtight seal | Valve opens when connected | Prevents leakage when not connected |
American T-type uses steel balls for a secure fit.
Industrial/Type D relies on a spring for quick release.
ARO 210 Type uses an O-ring for a tight seal and prevents leaks.
Wrench or Pliers
Use a wrench or pliers to tighten or loosen air fittings. This ensures a snug fit and prevents leaks. Do not overtighten, as this can damage the threads.
Teflon Tape
Wrap Teflon tape around the threads of air fittings before connecting them. This tape fills small gaps and helps create a leak-free seal.
Safety Gear
Safety Glasses
Safety glasses protect your eyes from flying debris or sudden bursts of air. Always wear them when working with compressed air.
Gloves
Gloves shield your hands from sharp edges and hot surfaces. They also give you a better grip when handling air fittings and tools.
Note: Never skip safety gear. Even a small burst of air can cause injury.
Having the right tools and materials makes connecting and disconnecting your air line safer and more efficient. Each item plays a key role in keeping your air system leak-free and reliable.
Prepare for Connection
Inspect Fittings and Hose
Check for Damage
Checking air hose quick connect fittings often helps stop leaks. It also keeps you safe. Look at hoses and couplers before you use them. This is very important if you use the equipment every day or in tough places. Watch for cracks, rust, or other damage. Change any broken parts right away to keep things safe.
Check hoses and couplers often to stop leaks.
Change broken parts as soon as you see them.
Look at connectors before each use, especially after not using them for a while.
For normal systems, check every 6 months.
For stronger systems, check every 3 months.
In rough places, check every 1-2 months.
Look at O-rings for changes and change them if needed.
Tip: Look at coupling bodies and connection spots every day. This helps you find problems early.
Clean Connection Points
Dirt at the connection spots can make leaks happen. It can also make things work less well. Clean all the parts before you connect fittings. Use a dry cloth or compressed air to get rid of dust. Make sure to clean the threads and O-rings. Dirt here can make the seal bad.
Take dirt off hose ends and couplers.
Clean threads and O-rings well.
Do not use water because it can cause rust.
| Inspection Step | Frequency | Action Required |
|---|---|---|
| Visual check | Daily/Before use | Look for cracks, rust, dirt |
| O-ring inspection | Monthly/As needed | Replace if deformed |
| Deep cleaning | Every 3-6 months | Remove debris from threads |
Apply Teflon Tape
Wrap Threads
Teflon tape, also called PTFE tape, helps seal threaded connections. Wrap the tape around the male threads. Go in a clockwise way. Cover the threads but do not use too much tape. For G-threaded (BSPP) quick connect fittings, PTFE tape is needed to stop leaks. Tapered threads like BSPT and NPT can seal themselves, but PTFE tape makes the seal better.
Put Teflon tape on male threads.
Use 2-3 layers for best results.
Do not cover the end of the thread.
Note: Teflon tape can change shape under high pressure. Always check the seal after you connect.
Ensure Tight Seal
A tight seal stops air leaks and keeps things working well. After you put on Teflon tape, tighten the fitting by hand. Then use a wrench or pliers to make it snug. Do not use too much force. This can hurt the threads or mess up the tape. Test for leaks before you turn on the compressor.
Tighten fittings well after taping.
Do not use too much force.
Check for leaks after you put it together.
| Thread Type | PTFE Tape Needed | Seal Quality |
|---|---|---|
| BSPP (G-thread) | Yes | High |
| BSPT/NPT | Optional | Enhanced |
Alert: Always check the connection after you put it together. Even a small leak can make tools work badly or be unsafe.
Connect Air Hose Quick Connect
Connecting air hose quick connect fittings the right way ensures a safe, leak-free air line. Follow these steps to install the air line and keep your system running smoothly.
Align and Insert
Proper Orientation
Select the correct fitting type and size for your air line. Match male and female ends.
Hold the air hose quick connect fitting so the coupler and plug line up straight. Avoid forcing the connection at an angle.
Clean the ends of the hose and coupler before connecting. This helps create a tight seal and prevents leaks.
Tip: Always check that the fitting matches your air tools and compressor. Using the wrong size can cause leaks or damage.
Push Until Click
Push the plug into the coupler firmly. Apply steady pressure.
Listen for a clear "click" sound. This means the locking balls or spring have engaged.
Tug gently on the hose to make sure the connection holds. The air hose quick connect should not pull apart easily.
| Step | Action | Result |
|---|---|---|
| Align fittings | Hold coupler and plug straight | Prevents cross-threading |
| Push together | Insert plug into coupler until it clicks | Secure, locked connection |
| Tug test | Pull gently on hose | Confirms proper engagement |
Secure and Test
Tug Test
After connecting, perform a tug test. Pull the hose gently to check if the quick connect fittings stay locked.
If the fitting disconnects or feels loose, repeat the alignment and insertion steps.
Check for Leaks
Turn on the compressor and pressurize the air line.
Listen for hissing sounds near the quick connect fittings. These sounds signal air leaks.
Run your hand around the connection to feel for escaping air. If you find a leak, turn off the compressor and tighten the fitting by hand.
Use Teflon tape on threaded joints if leaks continue. Do not overtighten, as this can damage the threads or the fitting.
Alert: Never ignore a leak. Even a small leak can lower tool performance and waste energy.
Regularly inspect couplers for wear. Replace damaged parts to keep your air hose quick connect system reliable.
Store hoses properly to prevent kinks, which can cause connection problems.
A secure air hose quick connect saves time and keeps your air line safe. Always listen for the click, check for leaks, and inspect your quick connect fittings often. This routine helps you avoid common mistakes and keeps your air tools working at their best.
Disconnect Quick Connect Fittings
Taking off quick connect fittings from an air line needs careful steps. Doing things in the right order keeps everyone safe and stops damage.
Depressurize System
Turn Off Air Supply
Always turn off the air supply before you disconnect quick connect fittings. This stops compressed air from moving through the air line. Look at the pressure gauge to make sure the system is not active. If you skip this step, air can burst out fast and hurt someone or break things.
Workers or people nearby can get hurt if the air line stays pressurized.
Parts being made might get damaged.
Dust can fly up from the floor.
Tiny bits can float in the air.
Lockout devices keep the air line safe during maintenance. Use a padlock to keep valves closed and stop accidents. This follows safety rules and keeps everyone safe.
Release Pressure
After you turn off the air supply, let out any leftover pressure in the air line. Some pressure can stay in the hose or tools even after the main valve is closed. Use a pressure regulator or vent valve to release trapped air. This stops tools from turning on by accident and keeps the area safe.
Release and Remove
Pull Back Collar
Find the release part on your quick connect fittings. Most fittings have a sleeve or collar you pull back to unlock the plug from the coupler. Some systems use a button or lever. Always use the release part before you try to take off the hose.
Remove Hose
Pull the hose out gently after you pull back the collar. Do not use too much force. Make sure the hose is fully off the air line. This keeps the fittings safe and ready for next time.
Step-by-step process for safe removal:
Turn off the air supply and check the pressure gauge.
Find the release part on the quick connect fittings.
Use the release part by pulling back the collar, pressing the button, or moving the lever.
Gently pull the hose out of the fitting.
Make sure the hose is totally off the air line.
Tip: Handle quick connect fittings carefully. This helps them last longer and stops leaks.
Troubleshooting Stuck Fittings
Use Wrench if Needed
Sometimes quick connect fittings get stuck because of dirt, rust, or built-up pressure. If the collar will not move, use a wrench or pliers to hold the fitting. Press firmly but do not twist or bend the air line. Clean the connection spots after you remove the fitting to stop sticking next time.
Note: Never force a stuck fitting. Forcing can break the quick connect fittings or the air line. Cleaning and checking often helps stop this problem.
Disconnecting quick connect fittings the right way keeps workers and equipment safe. Always turn off the air supply, let out the pressure, and use the release part before removing the hose. These steps help your air line system stay safe and work well every time.
Troubleshooting & Safety Tips
Common Issues
Leaks
Leaks can happen with quick connect fittings. These leaks waste energy and make tools work worse. Some main reasons are bad hose material, leaking hose clamps, poor repairs, and nipples that are not sealed right. Checking your equipment often helps stop leaks. Newer fittings and good ways to install them also help. Tighten loose parts and use strong materials with the right sealant to keep air in.
| Cause of Leak | Description |
|---|---|
| Low-quality hose material | Hoses made from weak materials wear out faster and leak. |
| Leaking hose clamps | Bad clamps can leak at the ends, so better ones are needed. |
| Poorly executed hose repairs | Bad repairs can make leaks come back, so use good materials and fix them right. |
| Poorly sealed nipples | If you do not seal nipples right, leaks can happen, so use the right way to seal them. |
Pick strong hoses so they last longer.
Put on and take care of fittings the right way.
Check connections a lot to find leaks early.
If you have an emergency, use superglue on gaps after letting out the air for a quick fix.
Stuck Fittings
Sometimes quick connect fittings get stuck and slow down your work. Dirt, rust, or too much pressure can cause this. Use a wrench or pliers to hold the fitting if the collar will not move. Clean the ends after you take them apart so they do not stick next time. Do not force the fitting or you might break it inside, making it hard to put back together. Always check the release part before you try to take it off.
| Issue | Percentage of Users Affected |
|---|---|
| Compatibility Issues | 25% |
| Tool Failures due to Maintenance | 30% |
| Energy Loss from Damaged Couplers | 15% |
Mistakes to Avoid
Skipping Inspection
If you skip checking your fittings, you can get leaks and broken tools. Using the wrong size, like putting a 3/8 plug in a ¼ coupler, will not seal right. Mixing industrial and automotive types can break your tools. Using low-pressure couplers in high-pressure systems can make them blow off and be dangerous. Always look at your quick connect fittings before you use them.
Not Depressurizing
Taking off the air hose while the system still has pressure can make air shoot out fast. This can hurt people or break the fittings. Always turn off the air and let out the pressure before you take off quick connect fittings.
Safety Precautions
Wear Gear
Wear safety glasses and gloves every time you use quick connect fittings. These protect your eyes and hands from flying things and sudden air bursts. Always check the air pressure with a gauge to keep it safe.
Work Safely
Follow safety rules to stop accidents. Do not go over the flow rate. Do not use hoses for things they are not made for. Keep hoses in a dry place away from the sun and heavy things. Make sure everyone knows the dangers and gets training. Clean and check quick connect fittings often so they work well.
For more about air system safety, visit OSHA’s compressed air safety guidelines or NIOSH’s air tool safety resources.
Maintenance for Fittings

Clean Regularly
Remove Debris
Keeping quick connect fittings clean helps them last longer. Dirt and dust can make leaks and hard connections.
Wipe the coupling area with a dry cloth once a week.
Put on protective caps when you are not using fittings to keep out dirt.
Do not use sharp tools that could scratch or harm the fitting.
Add some oil to the coupling area if it feels hard to move after cleaning.
Tip: Cleaning often stops dirt from building up and causing stuck or leaky fittings.
Use Proper Solutions
Pick cleaning products that are safe for seals and metal.
Clean with mild soap and warm water most times.
Stay away from strong chemicals because they can hurt O-rings and seals.
Put silicone grease on O-rings after cleaning to keep them soft and sealed.
| Action | Frequency |
|---|---|
| Inspect fittings | Every two weeks |
| Clean fittings | Every week |
| Replace seals | Every year |
| Replace fittings | Every two years |
| Change if damaged | Immediately |
For more about safe cleaning, check NIOSH’s compressed air safety resources.
Store Properly
Dry Location
Water and sunlight can make hoses and fittings weak. Keep air hoses and quick connect fittings in a cool, dry place away from the sun.
Keep hoses off the ground to stop water and dirt from getting on them.
Use hose reels to keep hoses neat and stop tangles.
Avoid Kinks
Kinks can crack hoses and make them wear out faster.
Coil hoses neatly every time you finish using them.
Do not bend hoses sharply or put heavy things on them.
Put hoses where no one will step on them or pinch them.
Note: Storing things the right way keeps your air system safe and makes it last longer.
Replace When Needed
Signs of Wear
Quick connect fittings show signs when they need to be changed:
Air leaks that hiss or bubble when you use soapy water.
Loose connections that do not stay locked.
Broken seals or O-rings that make pressure drop.
Rust on metal parts from water.
Hard to take apart or collars that stick.
When to Replace
Most makers say to change O-rings every year and fittings every two years, even if they look okay.
In tough places or with high pressure, change push-to-connect fittings every 12–18 months.
Change any fitting right away if you see leaks, cracks, or rust.
Always turn off and let out the air before you change any parts.
| Environment Type | Performance Impact |
|---|---|
| Mobile or Flexible Setup | Quick connect fittings are preferred. |
| Dusty or Corrosive Setup | Hose barb fittings are more effective. |
For step-by-step help, see OSHA’s compressed air safety guidelines.
Alert: Changing old parts on time stops accidents and keeps your air tools working well.
Follow these steps for a secure air hose quick connect:
Identify the thread type and select the right fitting.
Apply Teflon tape to threads.
Tighten with a wrench, then test for leaks.
Depressurize before disconnecting and pull back the collar.
Regular checks and cleaning keep fittings safe and efficient. Choosing quality parts and proper installation prevents leaks and damage.
Have questions about fitting types or leaks? Share your feedback below!
FAQ
How do I know if my quick connect fitting is secure?
Listen for a click when you push the plug into the coupler.
Tug the hose gently. The fitting should not come apart.
Check for air leaks by feeling or listening near the connection.
Can I use different brands or types of quick connect fittings together?
Mixing different types or brands often causes leaks or poor fits. Always match the type and size of your fittings for a safe, reliable connection.
What should I do if my fitting leaks after installation?
Tighten the fitting with a wrench.
Apply Teflon tape to the threads.
Replace damaged O-rings or seals.
If leaks continue, change the fitting.
How often should I inspect my air hose and fittings?
Inspect before each use for cracks, rust, or dirt. For heavy use, check every month. Replace worn or damaged parts right away.
Why does my quick connect fitting get stuck?
Dirt, rust, or pressure buildup can cause sticking. Clean the fitting and use a wrench if needed. Never force the fitting. Regular cleaning prevents this issue.
Is it safe to disconnect the air hose while the system is pressurized?
Never disconnect under pressure. Always turn off the air supply and release pressure first. This prevents injury and protects your equipment.
How do I prevent air hose kinks and damage during storage?
Coil hoses neatly after use.
Store in a dry, cool place.
Use hose reels or hangers.
Keep hoses off the ground to avoid water and dirt.
When should I replace my quick connect fittings?
Replace fittings if you notice leaks, rust, loose connections, or damaged seals. Most experts recommend changing O-rings yearly and fittings every two years, or sooner if you see problems.
Keywords:
air hose quick connect
Recommended Reading
Leave your problems to us
If you need a solution, you can write your question and contact information in the message form, we will contact you as soon as possible after receiving it.
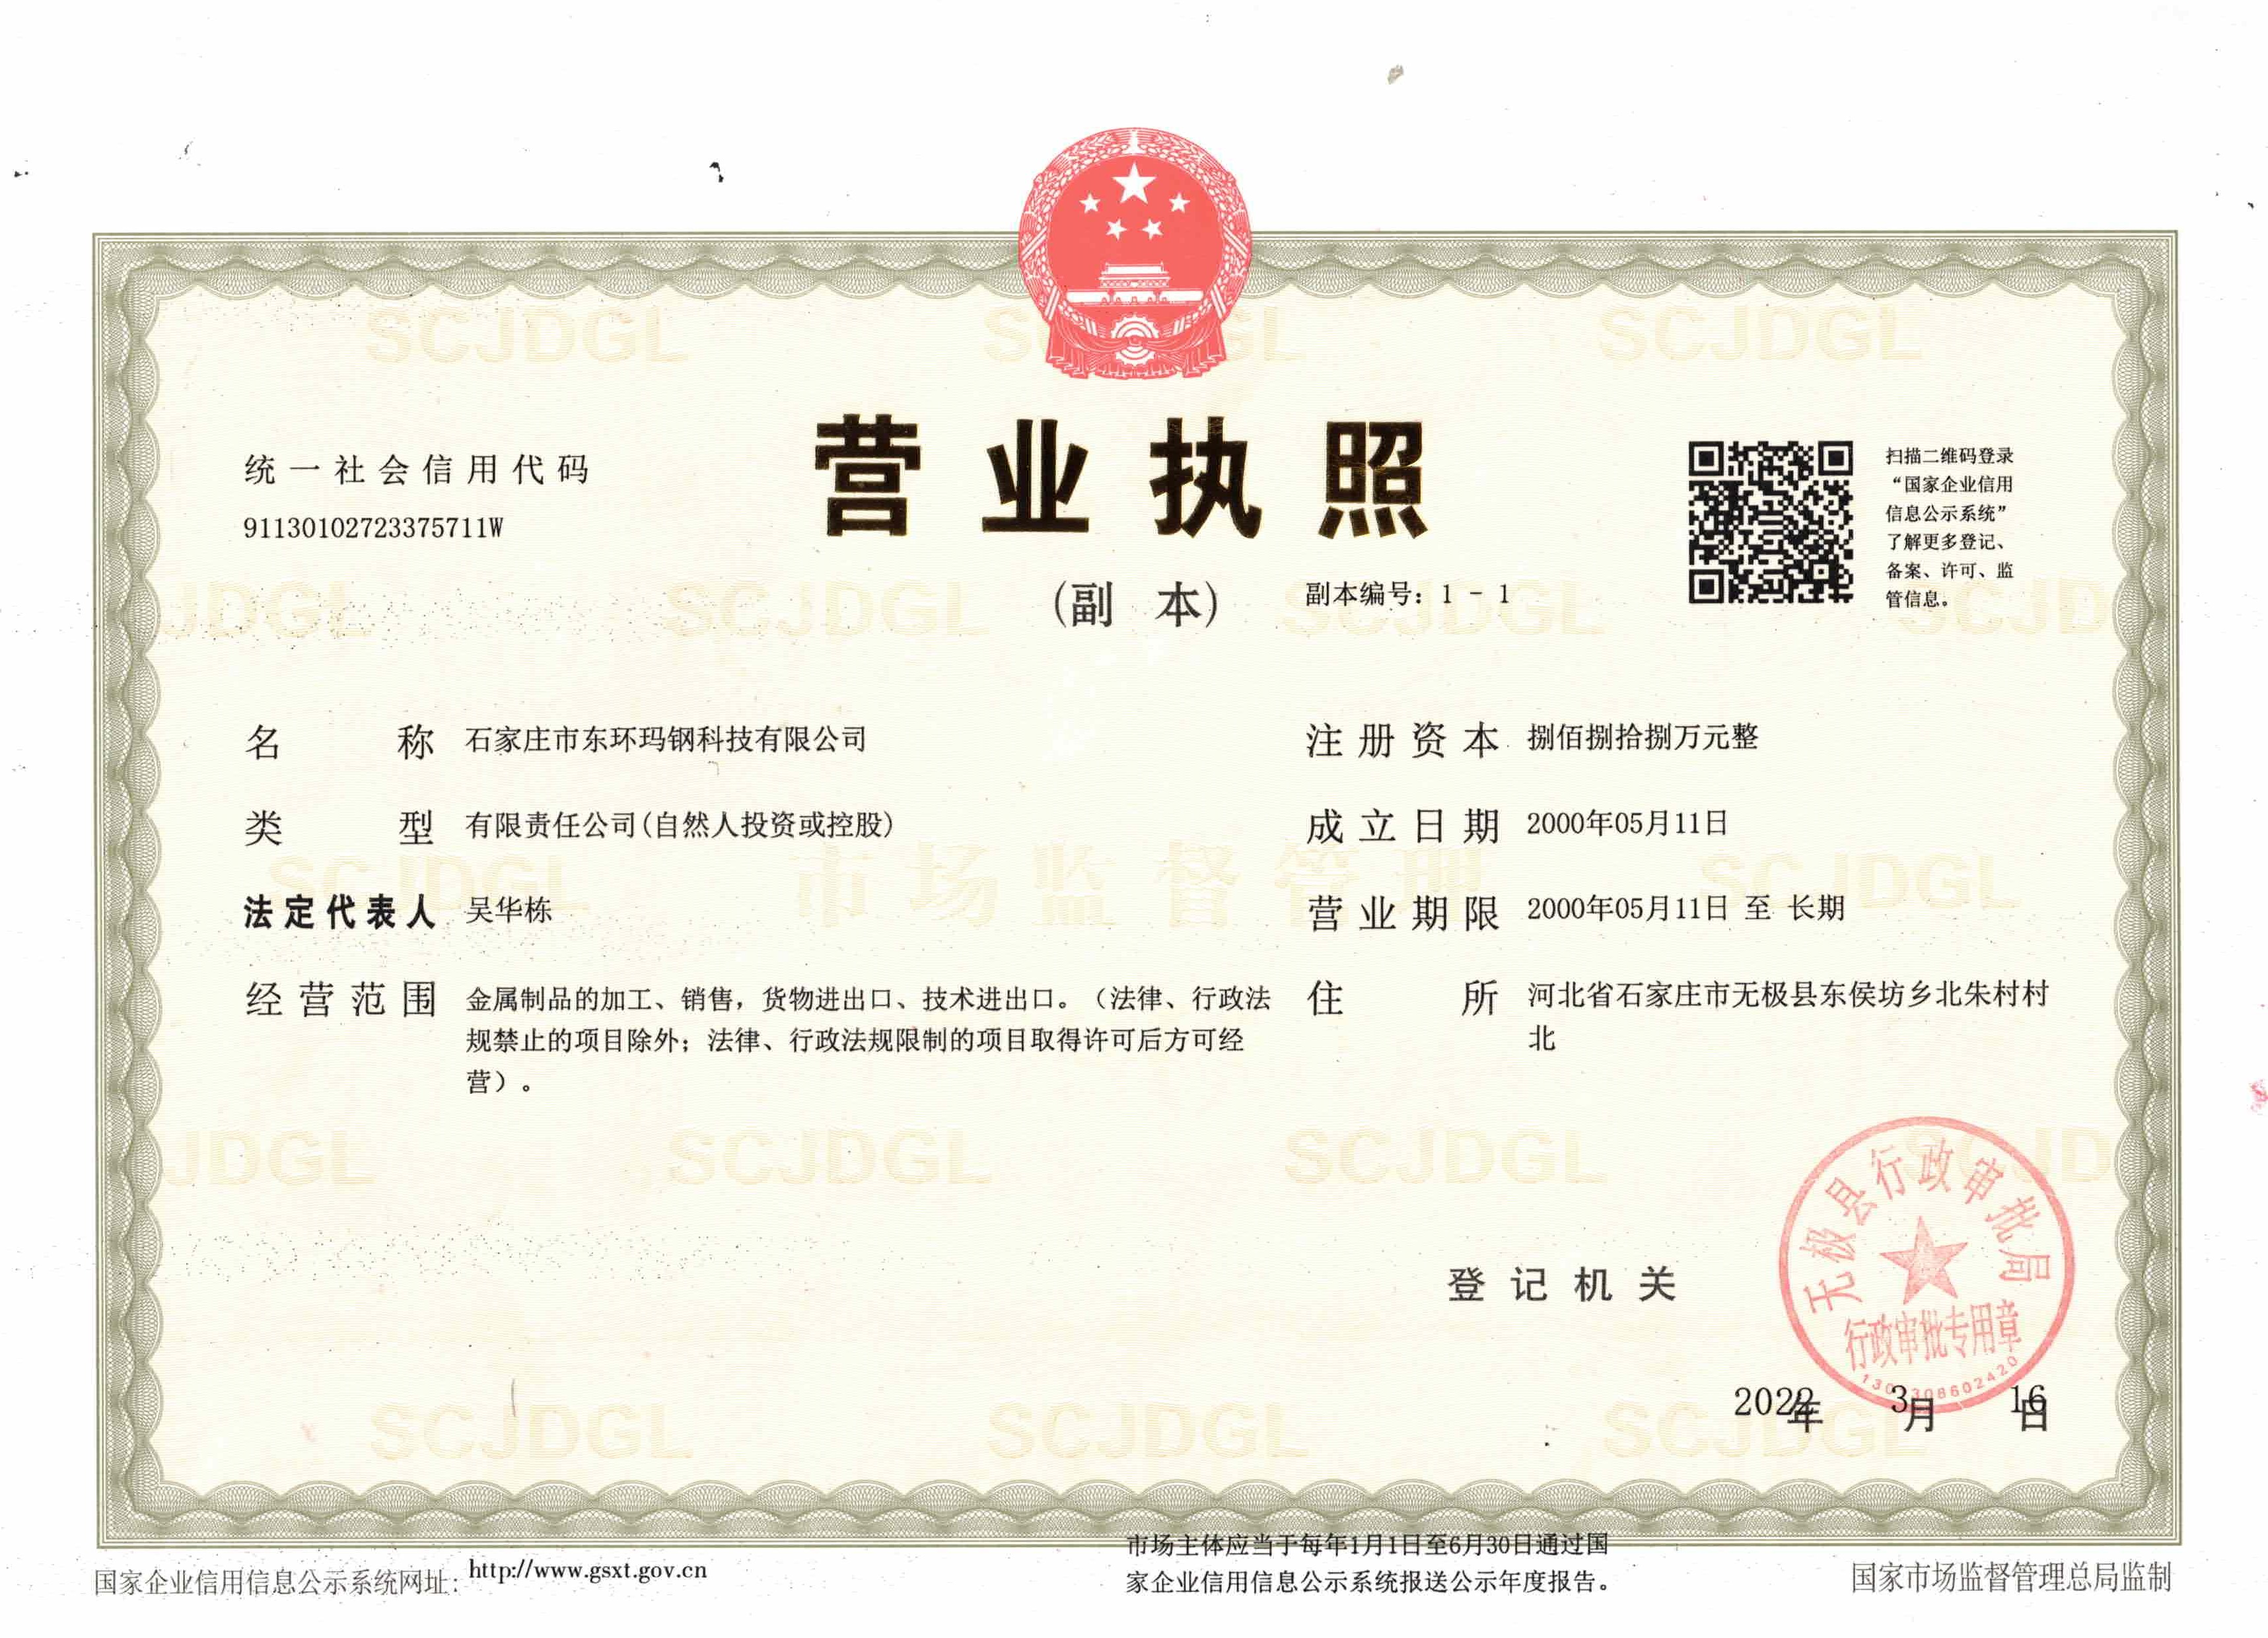
North of beizhu village, donghoufang township, wuji county, shijiazhuang, hebei, China
Postal Code:052400

Mob web

Tiktok