Shijiazhuang Donghuan malleable iron technology co.,ltd




Air hose connectors fittings fixes for fast results
Release time:
2026-05-18
Author:
Fix air hose connectors fittings fast with tips for inspection, maintenance, and replacement to prevent leaks, boost safety, and extend equipment life.

Fast fixes help you save time and money. Leaks in air hose connectors fittings waste energy and can be dangerous. Fixing problems right away keeps your equipment safe and working well.
Tip: Finding problems early means less waiting and more work gets done.
Quick Inspection for Air Hose Connectors Fittings

Signs of Wear
Visible Damage
Checking air hose connectors fittings often helps stop sudden problems. Watch for these signs:
Surface cracks
Cuts or abrasions
Discoloration
Oil or coolant residue
Cracks or splits
If you see damage, the quick connect system may not work well. Broken spots can make leaks or cause the hose to break fast.
Air Leaks
Air leaks waste power and make the system weaker. Listen for a hissing sound near the fittings. Put your hand close to feel air coming out. If the fluid flow is less, there might be a leak. Leaks often show up at the joint if the quick connect fitting is not tight.
Stiff or Loose Fittings
Try moving each fitting with your hand. If it is too hard to move or too loose, there is a problem. Loose parts can make leaks or cause the hose to pop off. Quick connect fittings should click in place and come off easily.
Tip: Always check if hoses feel hard or stiff. This means the hose is getting old and should be changed.
Essential Tools
Wrenches and Tubing Cutters
Keep simple tools nearby for checks and repairs. Use adjustable wrenches to make fittings tighter or looser. Tubing cutters help you cut off bad hose parts neatly.
Leak Detection Solutions
Spray soapy water on the connections and look for bubbles to find leaks. You can also use special leak detection fluids for quick connect systems. For more help, see OSHA’s compressed air safety page.
Replacement Parts
Keep extra connectors, O-rings, and hose pieces ready. Having the right quick connect parts helps you fix things fast and saves time.
Inspection Checklist
Clean dirt and junk off connectors.
Look for sharp edges or marks on metal parts.
Check if the hose bends well; change it if it is hard or stiff.
Make sure all quick connect fittings lock and unlock right.
Check that joints do not move too much.
Inspection Frequency
Checking connectors and hoses often keeps your system safe and working well.
Note: Mobile equipment should be checked every 3 months or after 400 to 600 hours of use.
Fast Maintenance for Compressed Air Hose
Cleaning and Lubrication
Using Brake Cleaner
Cleaning your compressed air hose system often helps it work well. Here are some easy steps to follow:
Wipe away dirt and junk from the coupling area.
Spray brake cleaner on the outside parts. Use a soft, clean cloth to wipe them.
Put caps on connectors after cleaning. This keeps out dirt.
Do not use sharp tools. They can scratch or break the fittings.
Look at the coupling area for any damage or leftover dirt.
Tip: Clean connectors before you use them. This stops buildup and helps prevent leaks.
Lubricating the Chuck
Lubrication helps the parts move easily and not get stuck. Put the right kind of oil or grease on moving parts:
Use silicone-based lubricant for plumbing jobs. It makes putting things together easier and stops cross-threading.
Pick good grease that works with brass for big jobs.
Put lubricant on the chuck and coupling area. Try connecting and disconnecting to make sure it moves smoothly.
Check seals and O-rings to see if they have enough oil. Change them if they look worn out.
Note: Oil connectors once a month or after using them a lot. This cuts down on rubbing and helps the hose last longer.
Preventing Issues
Avoiding Corrosion
Corrosion makes connectors and hoses wear out faster. Keep your hose in a dry place and use caps to protect it. Clean connectors often and check for rust or color changes. Change any rusty parts right away.
Proper Tightening
Tightening the right way stops leaks and damage. For NPT fittings, turn by hand until tight. Then use a wrench for a little more. Wrap PTFE tape around threads before tightening. Start threading by hand so you do not cross-thread. Stop if it feels too hard to turn.
For more help, check OSHA’s compressed air safety page or Grainger’s air hose maintenance tips.
Using Thread Sealant
Thread sealant helps air hose fittings last longer. Use PTFE tape or liquid sealant made for air hoses. Wrap tape around threads to fill spaces and make a tight seal. Always look at O-rings and gaskets to make sure they are not broken. Change them if they are damaged.
Tip: Do not tighten too much. Too much force can break threads and cause leaks.
Doing regular checks and using these tips keeps your air hose system safe and working well. Clean, oil, and check connectors often. Tighten parts the right way and use thread sealant to stop leaks and make your hose last longer.
Replacing Air Hose Connectors Fittings

Removal Steps
Loosening Threaded Fittings
Start by making sure you are safe. Put on gloves and safety glasses. This keeps you safe from sharp edges and splashes. Let out all the air before you start. Unplug any power so nothing turns on by accident. Use an adjustable wrench to loosen the fitting. Turn it left until the connector comes off. Look at the threads for damage or dirt.
Removing Push-to-Connect Types
Push-to-connect fittings need a different way. Let out the air and wear your safety gear. Press the release collar on the fitting. Gently pull the hose out. Check both the fitting and hose for cracks or wear. If the fitting is stuck, look for dirt or rust.
Cutting Damaged Hose
If the hose is damaged, remove it with care. Use a tubing cutter to make a straight cut. Cut away any part with cracks or splits. Throw away the bad hose the right way. Check the rest of the hose for bending and signs of getting old.
Tip: Always check if sizes or types match before putting on new connectors. Mixing industrial and automotive fittings or using a 3/8 plug with a 1/4 coupler can cause leaks and bad sealing.
Installing New Fittings
Matching Sizes and Types
Picking the right connectors stops leaks and blow-offs. Look at the maker’s guide to see what fits. Measure the connector size, like 1/4 or 3/8 inches. See if the fitting snaps in or screws in. Do not mix industrial and automotive types. Use only strong couplers for high-pressure systems.
Common reasons for replacement:
Sizes do not match
Mixing different types
Not checking pressure ratings
Ask an expert if you are not sure what fits. Look at new fittings for damage or dirt before you use them.
Securing Connections
Putting fittings on the right way makes them last longer. Clean the threads before you put on tape. Wrap PTFE tape around the threads, but not too much. Cut the tubing straight and to the right length. Push the tubing all the way into push-to-connect fittings. Tighten the fittings as the maker says. Check seals and gaskets to make sure they fit and are not broken.
Best practices:
Clean threads and fittings
Wrap tape evenly
Do not use too much tape
Cut tubing straight
Push tubing in all the way
Tighten to the right tightness
Check seals and gaskets
Check for wear often
Keep fittings clean
Change worn seals right away
Note: For barbed fittings, push the tubing onto the barb and use a hose clamp to hold it.
Testing for Leaks
Testing makes sure the new connectors work right. Try these ways to check for leaks:
Listen for hissing sounds at the joint. If you find leaks, check the fitting size and type again. Test again after you tighten or change seals.
Tip: Check for leaks often after you put in new fittings. This helps you find problems early and keeps things working.
Troubleshooting Common Problems
Fixing Leaks Fast
Quick Patches
Leaks in air hose connectors fittings can stop work. They also waste energy. Quick patches help keep things working for a short time. You can use emergency fixes until you can do a full repair. Some fast fixes are:
Specialized leak repair kits give quick help for trained workers.
Different kits help with certain emergencies at work.
Cut both ends off a soda can. Twist it into a spiral shape. Wrap it around the broken spot. Hold it tight with hose clamps.
Use brass barbed fittings and clamps to join the hose. Cut the hose clean at the break first.
Tip: Keep repair kits and clamps close by for quick use.
Leaks can happen from bad installation, old parts, wrong materials, or weather. Check your hoses often and put them in the right way. This helps stop leaks.
When to Replace
Quick patches are only for emergencies. Some leaks mean you must replace parts. Change fittings or hoses if:
The patch does not stay when under pressure.
The hose has deep cracks or splits.
The connector is rusty or has a lot of corrosion.
The fitting does not fit the system size or type.
The leak comes back after you patch it.
Look at hoses and fittings often. Use the right materials and follow the maker’s rules. Use heat guards to keep hoses safe from high heat. High pressure, scrapes, or using the wrong part can cause leaks that need new parts.
Stuck or Damaged Fittings
Safe Removal
Taking off stuck or broken fittings needs care. This keeps you safe and stops more damage. Do these steps:
Unhook the negative battery cable. Wait five minutes to let out any electric charge.
Let the engine cool all the way for one to two hours.
Take pictures or draw how the air hose connector is set up.
Look at the service manual for pictures and safety tips.
Find the air distribution hose connector.
Unplug any wires connected to the hose.
Take off the fasteners holding the old connector.
Look at how the hose is set up and take off old hose clamps.
Unhook intake hoses from the old connector.
Take out the old connector all the way.
Check the mounting spot and hose ends.
Put in the new connector and tighten it with fasteners.
Hook up intake hoses to the new connector.
Plug in the wires again and use grease if needed.
Note: Always wear gloves and safety glasses when working with compressed air.
Preventing Future Sticking
You can stop fittings from sticking by using the right tools and ways. These steps make fittings easy to take off and care for:
Use push lock fittings on soft hoses. Warm the hose if it is too cold.
Watch for shaking that can loosen fittings over time.
Do not reuse fittings unless you have to.
Try the 'Boil and Lock' way with warm water for tight hoses in cold.
Use the 'Push-While-Spinning' trick for easier and tighter fits.
Do a 'Palm Pressure Test' to check if the fitting is in all the way.
Use depth gauges to check how deep the fitting goes for important jobs.
Check and care for fittings often. Putting them in the right way keeps them from sticking. These steps help your compressed air system work safely and well.
Long-Term Care Tips
Regular Checks
Maintenance Calendar
A maintenance calendar stops surprise problems. Set reminders for checks every month and every three months. Use a checklist to keep track of each job. Doing checks often keeps the system safe and working well.
Sample Maintenance Checklist:
Look for leaks, cracks, or swelling on the hose.
Check for pressure loss; look for leaks or loose connectors if tools feel weak.
Inspect fittings every month for wear or damage.
Clean fittings with a dry cloth.
Make sure the hose is not tangled or kinked.
Check often for damage, cuts, or cracks, especially on fittings.
Stop kinks by not bending or twisting the hose sharply.
Do a pressure check to see if the hose can handle the right amount.
Store the hose rolled up and away from sunlight.
Tip: Mark inspection days on a calendar or use a phone reminder. This helps you remember checks and keeps things safe.
What to Inspect
Look at critical areas every time you check. Check connectors for damage, rust, or loose parts. Look at hoses for swelling, cracks, or pressure loss. Clean all fittings and take off dirt. Make sure hoses bend easily and do not kink. Test the locking part on quick connect fittings. Make sure all seals and O-rings are not broken.
Note: Finding problems early stops long breaks and keeps the system working well.
Proper Storage
Storing Hoses
Good storage helps air hoses and connectors last longer. Coil hoses neatly when you are not using them. Do not wrap too tight so you do not make cracks. Keep hoses organized, dry, and out of sunlight. Use a hose reel for easy storage.
Store hoses inside, away from chemicals and hot or cold places.
Keep hoses off the ground and away from sharp things or heavy tools.
Put hoses in a cool, dry spot to stop damage from sunlight and water.
Tip: Neatly coiled hoses stop kinks and make setup faster.
Protecting from Damage
Keeping hoses safe stops them from breaking early. Do not bend or kink hoses when storing them. Keep hydraulic hoses away from sharp things or anything that can hurt them. Store hoses in a cool, dry place, away from sunlight, heat, cold, and chemicals.
Use hose covers or caps to keep connectors clean from dust and dirt.
Check storage spots for dangers like heavy tools or sharp edges.
Put hoses on racks or reels so they do not touch the floor.
Callout: Bad storage makes weak spots, cracks, and leaks. Keeping hoses organized helps your air hose system work well.
Being careful with air hose connectors fittings keeps things safe and working well.
Key steps for reliability and safety:
Check quick connect fittings, hoses, and tools before using them.
Make sure parts can handle the system’s pressure.
Put thread sealant on as the instructions say.
Change parts that are worn or broken right away.
Tighten connections to stop leaks.
Store hoses the right way so they do not get damaged.
Doing regular maintenance stops sudden leaks and hoses coming apart. Paying attention helps your equipment work longer and cuts down on waiting.
Follow these steps to keep things working and make your workplace safer.
FAQ
How do I spot a leak in my air hose connectors fittings?
Listen for hissing sounds near the fittings. Spray soapy water on the connection and look for bubbles. Check for visible cracks or loose parts.
What tools help with quick repairs?
Wrenches, tubing cutters, and leak detection solutions help with fast fixes. Keep replacement parts ready for emergencies.
How often should I inspect air hose connectors fittings?
Inspect fittings before each use if used rarely. For regular use, check every three months. In harsh conditions, inspect monthly.
What are the best repair options for damaged fittings?
Replace damaged fittings with new ones that match the size and type. Use thread sealant and test for leaks after installation.
How can I prevent corrosion on connectors?
Store hoses in a dry place. Clean connectors regularly and use protective caps. Replace any parts showing rust.
Why do fittings get stuck, and how can I remove them safely?
Stuck fittings often result from dirt or corrosion. Use proper tools, wear safety gear, and follow step-by-step removal instructions.
What is the safest way to store air hoses?
Coil hoses loosely and keep them off the ground. Store in a cool, dry area away from sunlight and chemicals.
How do I know when to replace a hose instead of patching it?
Replace the hose if it has deep cracks, repeated leaks, or visible swelling. Patches work only for minor, temporary fixes.
Keywords:
air hose connectors fittings
Recommended Reading
Leave your problems to us
If you need a solution, you can write your question and contact information in the message form, we will contact you as soon as possible after receiving it.
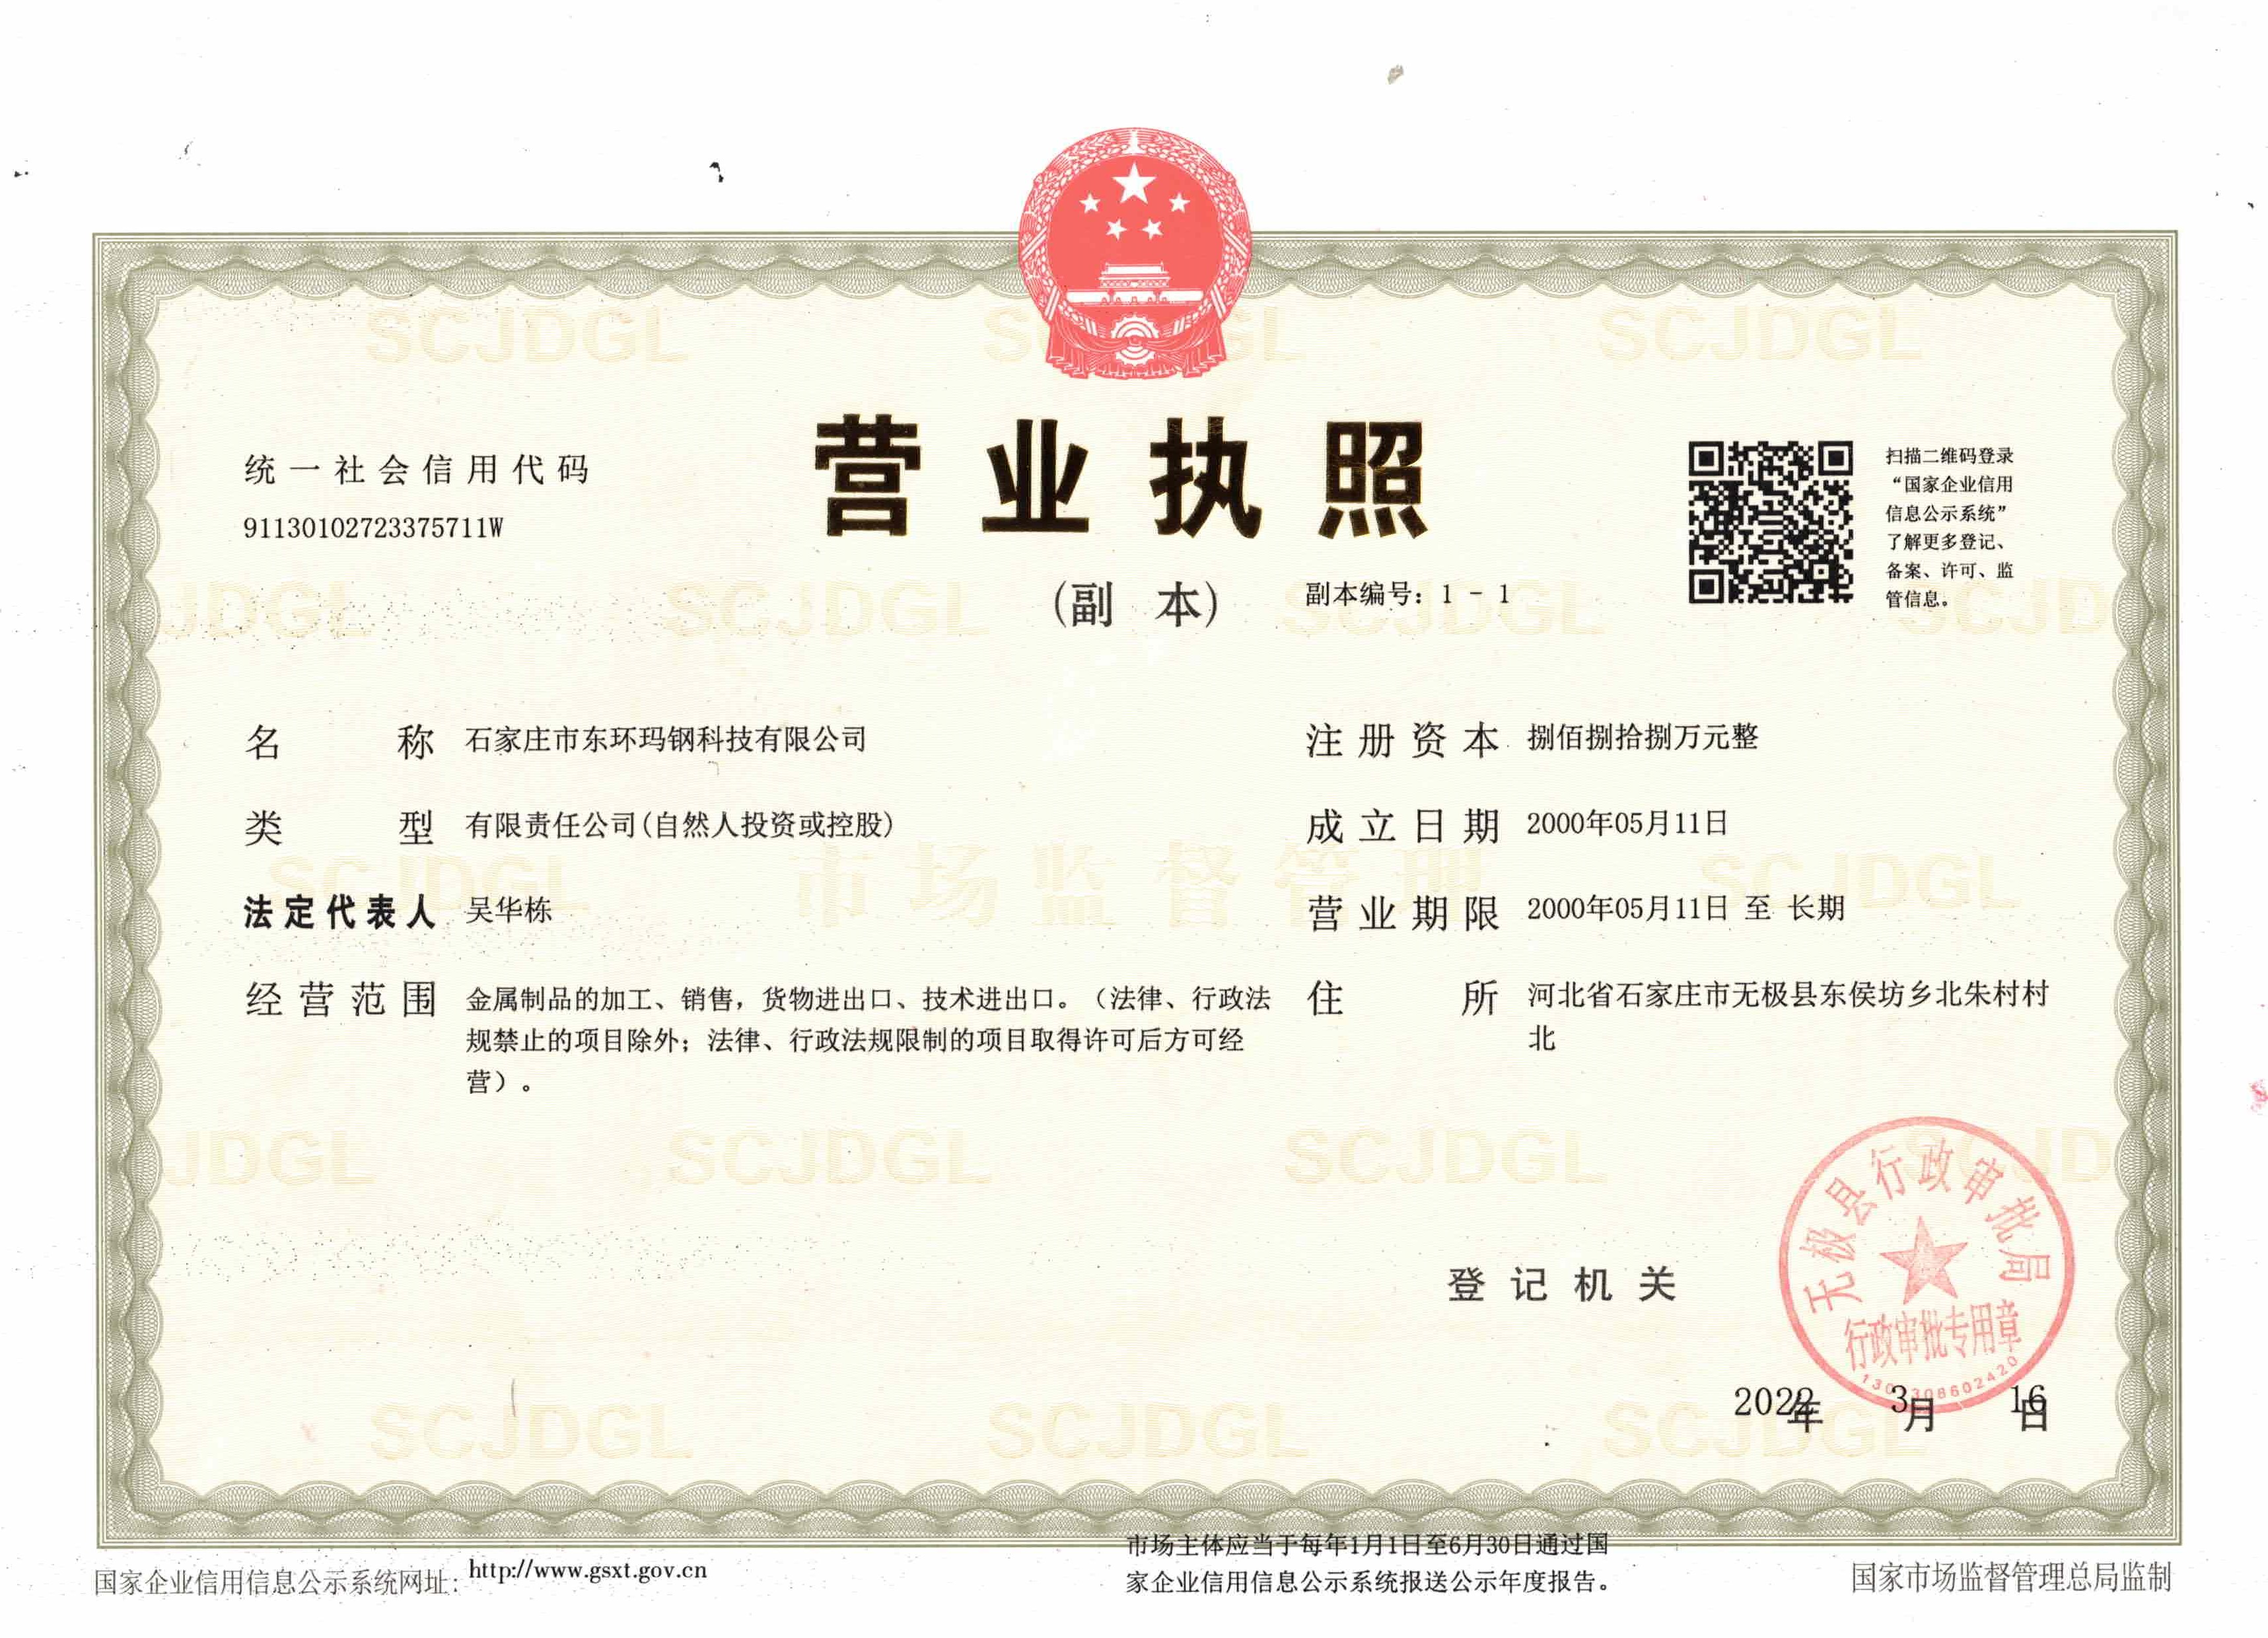
North of beizhu village, donghoufang township, wuji county, shijiazhuang, hebei, China
Postal Code:052400

Mob web

Tiktok