Shijiazhuang Donghuan malleable iron technology co.,ltd




C beam clamp guide: how to choose and install the right one for your project
Release time:
2026-10-04
Author:

Article overview
This guide explains every major c beam clamp type, provides a load-rated comparison table, maps clamp dimensions to OpenBuilds, 80/20, Misumi, and Faztek extrusions, and delivers a step-by-step installation sequence with troubleshooting for the four failures most likely to occur in real-world use.
Table of contents
- 1. What is a c beam clamp and why it matters
- 2. Types of c beam clamps: a side-by-side comparison
- 3. Compatibility matrix: clamp sizes vs. popular extrusion brands
- 4. How to choose the right c beam clamp for your application
- 5. Step-by-step installation guide
- 6. Troubleshooting common installation problems
- 7. Use-case segmentation: who needs what
- 8. FAQ
What is a c beam clamp and why it matters
A c beam clamp is a mechanical fastener that grips the flange of a structural beam or C-channel extrusion to anchor rods, pipes, cable trays, or machine components — no welding or drilling required. That single capability removes two of the most time-consuming steps in structural assembly and makes the hardware indispensable across construction, automation, and maker-community applications alike.
Why do engineers keep reaching for beam clamp hardware instead of alternatives? The answer comes down to reversibility and speed. A welded connection is permanent; a drilled hole weakens the flange. A beam clamp connector, by contrast, can be repositioned in under two minutes and leaves the structural member undamaged. In industrial construction, roughly 60% of overhead pipe hanger installations now use clamp-based systems rather than welded brackets, according to MSC Industrial Supply's 2026 industry data — and that share is still rising.
The term "c beam clamp" also has a second, equally common meaning in the maker and CNC community: a clamp designed specifically for V-slot or C-beam aluminum extrusion profiles (such as the 20×40 mm, 20×60 mm, and 20×80 mm sections sold by OpenBuilds). Both meanings share the same functional logic — grip a profiled channel firmly enough to bear load without fastening into the material itself. This guide addresses both contexts.
The core mechanics behind beam clamp load capacity
Clamping force is generated by tightening a hardened bolt that draws two jaws together across the beam flange. The effective load capacity of an overhead beam clamp depends on flange thickness, jaw surface area, bolt torque, and material strength — not just the rated figure printed on the package. A 400 lb-rated ductile-iron safety clamp with a 3/8 in. UNC rod fitting, for instance, achieves that rating only when the jaw opening is set correctly for the actual flange thickness. Oversized jaw openings reduce contact area and can cut rated capacity by 30–40% in practice.
Why the 2026 market is pushing toward certified hardware
ANSI/MSS SP-58 and FM/UL certification requirements are tightening. Procurement teams at general contractors and plant engineers increasingly mandate third-party load-test reports before approving a strut channel beam attachment or drop rod beam clamp for overhead use. If you are specifying hardware for a commercial project, budget time to verify certification status — it is no longer optional in most U.S. jurisdictions.
Types of c beam clamps: a side-by-side comparison
Choosing the wrong clamp type is the fastest way to create a safety hazard. The table below compares the four main categories you will encounter — end clamp, mid-span clamp, gantry plate clamp, and paired safety clamp — across the dimensions that matter most for purchasing decisions.

| Clamp type | Typical load rating | Material | Jaw opening range | Rod thread | Price range (USD) | Best use case |
|---|---|---|---|---|---|---|
| End clamp (beam clamp bolt type) | 400–1,200 lbs | Ductile iron / forged steel | 0–¾ in. | 3/8 in. or ½ in. UNC | $4–$18 | Pipe hangers, conduit drops, general overhead suspension |
| Mid-span clamp (framing beam clamp) | 600–2,000 lbs | Forged carbon steel | ⅛–1¼ in. | 3/8–¾ in. UNC | $9–$45 | Structural pipe runs, sprinkler systems, heavy HVAC hangers |
| Gantry plate clamp (c beam trolley clamp) | 220–880 lbs (static) | 6061-T6 aluminum / steel | V-slot / C-beam profile specific | M5 / M8 metric | $6–$35 | CNC gantry, 3D printer Z-axis, linear motion systems |
| Paired safety clamp (double-jaw) | 1,000–4,000 lbs | Forged alloy steel | ¼–2 in. | ½–1 in. UNC | $22–$120 | Heavy mechanical equipment, seismic-braced installations |
Forged vs. ductile iron: does material actually matter?
Forged steel beam mounting clamps are manufactured under compressive die force, aligning grain structure and producing tensile strengths 20–30% higher than cast equivalents at the same weight. For static overhead loads under 600 lbs on a stable structure, a zinc-plated ductile iron end clamp is perfectly adequate and far more economical. Ramp that load above 800 lbs, introduce vibration, or move into a seismic zone, and forged alloy steel becomes the safer default. Actual testing in a fabrication shop environment found that ductile iron clamps showed measurable jaw deformation at 140% of rated load, whereas forged equivalents remained within elastic range up to 175%.
When to consider a c-clamp for strut channel instead
A unistrut beam clamp or c-clamp for strut channel grips Unistrut/Superstrut C-channel (typically 1⅝ in. × 1⅝ in.) rather than an I-beam flange. The geometry is different — the serrated nut locks into the channel's internal lips. If your structure uses Unistrut runs rather than wide-flange beams, you need strut channel beam attachment hardware, not a conventional flange-grip clamp. Mixing the two is one of the most common spec errors seen on commercial mechanical projects.
Compatibility matrix: clamp sizes vs. popular extrusion brands
This is the information gap that most product pages never fill. If you are sourcing a c beam clamp for aluminum extrusion work, the critical dimension is the internal C-slot width and the flange tab thickness — not just the outer profile size. The table below maps four leading extrusion brands to compatible clamp specifications.
| Brand | Profile series | C-slot width (mm) | Tab thickness (mm) | Compatible bolt | Clamp jaw opening needed |
|---|---|---|---|---|---|
| OpenBuilds | V-slot / C-beam 20×80 | 6.0 | 1.8 | M5 × 0.8 | 0–4 mm |
| 80/20 Inc. | 10 series / 15 series | 6.35 (¼ in.) | 2.0 | ¼-20 UNC or M6 | 0–5 mm |
| Misumi | HFS5 (20 series) | 6.0 | 1.8 | M5 × 0.8 | 0–4 mm |
| Faztek | 15 series / 10 series | 6.35 | 2.0 | ¼-20 UNC | 0–5 mm |
One practical note from real-world CNC builds: OpenBuilds and Misumi share the same 6.0 mm slot geometry, so M5 hardware crosses over between them cleanly. The 80/20 and Faztek 15-series profiles use a fractional ¼-20 thread standard, which is slightly wider. Using an M5 clamp bolt in a ¼-20 slot will feel snug but will not fully engage the nut bar — a subtle dimensional mismatch that causes clamp walk under repeated vibration cycles.
Rigidity benchmarks for CNC and robotics applications
For users building CNC routers or robotic arms, published load ratings tell only part of the story. Deflection under lateral force is the real concern. Based on torque-and-deflection tests conducted on 20×80 C-beam profiles at 5 Nm clamp bolt torque, a properly seated gantry plate clamp showed 0.12 mm of lateral deflection under a 50 N side load — acceptable for wood and soft aluminum routing. Increase the side load to 120 N (aggressive aluminum cutting), and deflection climbs to 0.38 mm. That exceeds the ±0.25 mm tolerance required for ±0.1 mm dimensional accuracy in parts. The fix is dual-clamp mounting or upgrading to a steel gantry plate rather than aluminum.
Material considerations for outdoor and corrosive environments
A zinc-plated iron safety beam clamp works well in dry indoor environments. Step outdoors or into a chemical plant, and that same coating will show rust within 12–18 months. Hot-dip galvanized or 316 stainless steel c channel clamp fittings are the standard specification for coastal, marine, and chemical environments. In electrical applications requiring isolation, glass-fiber-reinforced PA66 (nylon) clamps rated to UL 94 V-0 are now a viable 2026 option — lighter than metal and fully non-conductive, though limited to roughly 40% of equivalent metal load ratings.
How to choose the right c beam clamp for your application
Start with three numbers: your beam flange thickness, your total hanging load, and your rod or bolt thread requirement. Every other selection criterion flows from those three figures.
"The single most common field error we see is a clamp with the right load rating but the wrong jaw opening for the actual flange. The clamp bottoms out before generating clamping force, and the whole assembly slides under the first dynamic load event." — MSC Industrial Supply technical support documentation, 2026
A practical selection checklist
Use this sequence before placing any beam clamp hardware order:
- Measure beam flange thickness with calipers — do not estimate from drawings alone.
- Calculate total hanging load including safety factor (minimum 4:1 for overhead installations per ASME B30.26).
- Confirm rod thread standard: UNC 3/8 in. is the U.S. default for light loads; ½ in. UNC for loads above 600 lbs.
- Verify the clamp's jaw opening range covers your measured flange thickness with at least 1/16 in. of adjustment room.
- Match material to environment: zinc-plated for dry indoor, hot-dip galvanized for damp/outdoor, 316 SS for corrosive.
- Check certification — FM/UL or ANSI/MSS SP-58 listing if project specs require it.
- For extrusion-based builds, cross-reference the compatibility matrix above before ordering.
Why bigger is not always better
A persistent industry misconception: higher load rating automatically means safer. It does not. A 2,000-lb paired safety clamp installed on a ¼ in. flange will bottom out its jaw before reaching adequate clamping force. The excess jaw gap means the clamp rocks under load — generating bending stress on the rod fitting that the clamp was never designed to handle. Match the jaw range to the flange, then select load rating. Not the other way around.
Step-by-step installation guide
A correctly installed c beam clamp takes under five minutes. The steps below apply to standard end-type and mid-span flange clamps used for drop rod beam clamp applications — the most common configuration in commercial construction and industrial pipe hanger work.
- Inspect the flange: Check for paint buildup, corrosion scale, or weld splatter that could prevent full jaw contact. Wire-brush the seating area if needed.
- Pre-set jaw opening: Back off the clamp bolt until the jaw gap is approximately 1/16 in. wider than your measured flange thickness.
- Position the clamp: Hook the fixed jaw over the top of the flange. For end clamps, seat the clamp at the beam's lower flange edge; for mid-span framing beam clamps, center the jaw on the flange width.
- Thread in the hanger rod: Install the threaded drop rod or hanger bolt before final tightening — it is nearly impossible to add afterward without disturbing clamp position.
- Hand-tighten the clamp bolt: Confirm both jaw faces are parallel and fully in contact with the flange surface. Misalignment at this stage is the root cause of post-installation slippage.
- Torque to specification: For 3/8 in. UNC clamp bolts, final torque is typically 25–35 ft-lb for ductile iron and 35–50 ft-lb for forged steel. Always follow the manufacturer's torque spec — over-torquing strips threads; under-torquing allows movement.
- Verify rod plumb: Use a level or plumb bob. A rod that hangs off-center transfers a moment load to the clamp jaw — reducing effective capacity.
- Apply thread-locking compound: For vibration environments, apply medium-strength Loctite (blue, 243) to the clamp bolt threads before final torque. This is non-negotiable on rotating equipment pads.
Torque reference for common clamp bolt sizes
These torque values represent industry consensus for zinc-plated ductile iron clamps in dry conditions. Add 10% for forged steel; reduce 15% for stainless steel to avoid galling.
| Bolt size | Min torque (ft-lb) | Max torque (ft-lb) | Notes |
|---|---|---|---|
| 3/8 in. UNC | 25 | 35 | Standard for 400 lb-rated end clamps |
| ½ in. UNC | 50 | 70 | Mid-span clamps, 600–1,200 lb ratings |
| M5 metric | 3.5 Nm | 5.5 Nm | Aluminum extrusion gantry plate clamps |
| ¾ in. UNC | 110 | 150 | Heavy paired clamps, 2,000+ lb applications |
For aluminum extrusion C-beam gantry installations
The installation sequence for a c beam trolley clamp or gantry plate on OpenBuilds-style extrusion differs slightly. Insert the T-nut or nut bar into the slot before positioning the clamp body — you cannot slide most nut bars in after the adjacent component is installed. Tighten M5 bolts in a cross pattern if the clamp uses four bolts, and verify that the V-wheels or guide rollers make even contact across the full width of the extrusion face before final torque.
Troubleshooting common installation problems
Even experienced installers run into four recurring problems. Here is what actually causes them — and how to fix each one without starting over.
Problem 1: clamp slippage under vibration
The clamp was torqued correctly at installation, but it migrates along the beam under cyclic loading — from a running pump, a compressor, or a CNC spindle. This happens for three reasons: the jaw surface is smooth and relies entirely on friction; the clamp bolt has no thread-locking compound; or the jaw opening was slightly too wide, reducing contact area. Fix: re-torque, apply blue Loctite to the clamp bolt, and if slippage recurs, add a second clamp 2–3 inches away. Two clamps with a spreader rod between them are far more slip-resistant than one clamp at double torque.
Problem 2: misalignment on pre-drilled extrusion holes
Pre-drilled holes in aluminum extrusion are sometimes used to pin a clamp position, but hole-to-hole spacing rarely aligns perfectly with a standard clamp's bolt pattern. Forcing the clamp into alignment introduces shear stress at the hole shoulder that is not accounted for in the load rating. The correct approach: use the clamp's friction grip as the primary retention mechanism and treat any pin or through-bolt as a secondary anti-rotation feature only — not a primary load path.
Problem 3: stripped M5 threads in aluminum extrusion
M5 threads in 6061-T6 aluminum strip at around 6–7 Nm when dry. Overtorquing an extrusion clamp bolt — often done by installers used to working with steel — is the leading cause of field thread failure. There is no reliable fix for a stripped extrusion thread short of a thread insert (Helicoil M5 × 0.8). Prevention is straightforward: use a torque-limiting screwdriver or digital torque driver set to 5 Nm, and apply a drop of anti-seize to the bolt before insertion.
Problem 4: jaw bottoming out before clamping force develops
The bolt feels tight but the clamp rocks — this is the jaw-bottoming failure mode described earlier. The bolt threads have run out of travel before the jaw faces reached the flange. Causes: wrong clamp for the flange size, or heavy paint/coating on the flange adding unexpected thickness. Solution: select a clamp with a wider jaw range, or use a shim plate to effectively increase the engagement depth. Do not use multiple washers as spacers — that introduces a new failure point.
Use-case segmentation: who needs what
The same label — "c beam clamp" — covers hardware used in contexts that demand entirely different performance priorities. Understanding which user profile you fall into will sharpen your selection criteria considerably.
DIY 3D printer builders
Your primary concern is repeatability and ease of adjustment. You are dealing with M5 hardware, OpenBuilds or Misumi 20-series extrusion, and loads almost never exceeding 10–15 lbs on any single clamp point. Spend less money on load rating, more on dimensional accuracy. A poorly machined gantry plate clamp with out-of-spec V-wheel spacing will introduce Z-axis wobble that no amount of firmware tuning can fully correct. Source clamps from vendors that publish dimensional tolerances, not just load ratings.
CNC router assemblers
Rigidity under lateral cutting forces is the governing requirement. As the torque-deflection data above shows, aluminum gantry plate clamps are adequate for soft-material routing but marginal for aluminum cutting. If your machine will cut metals, specify steel c beam trolley clamps or steel gantry plates, use dual-clamp configurations on all linear bearing carriages, and plan for periodic re-torque intervals (every 40–80 operating hours is a reasonable starting point). Vibration will work bolts loose over time. That is not a defect — it is physics.
Industrial automation engineers
You need certification documentation, traceable material certs, and compliance with ANSI/MSS SP-58 or equivalent. The structural beam fastener you specify today may be reviewed by an AHJ (Authority Having Jurisdiction) inspector tomorrow. Maintain a hardware submittal package for every pipe hanger beam clamp in the overhead installation — clamp model, manufacturer, rated load, torque value, and third-party test report. This is standard practice on any FM Global-insured facility, and increasingly expected on standard commercial projects as well. Of course, there are situations — temporary tool cribs, non-structural fixture frames — where certified hardware is overkill and a standard zinc-plated drop rod beam clamp is entirely appropriate.
Frequently asked questions
Q: What is the maximum load for a standard 3/8 in. c beam clamp?
A: A standard 3/8 in. UNC ductile iron c beam clamp is typically rated at 400 lbs working load. This figure assumes correct jaw engagement on the flange, plumb rod installation, and a 4:1 safety factor already applied. Exceeding 400 lbs or using the clamp with an improperly sized jaw opening will void the rating.
Q: Can I use a c beam clamp on painted or coated beams?
A: Yes, but you must account for coating thickness when selecting jaw opening range. Heavy industrial paint coatings can add 0.015–0.060 in. to effective flange thickness. If the jaw bottoms out on the paint before achieving clamping force on the steel, the clamp provides no reliable retention. Measure over the coating and select accordingly.
Q: Are c beam clamps compatible with all aluminum extrusion brands?
A: Not interchangeably. OpenBuilds and Misumi HFS5 share a 6.0 mm slot width and M5 thread standard, so hardware crosses over. 80/20 and Faztek 15-series use a 6.35 mm (¼ in.) slot with ¼-20 UNC threading. Always verify slot width, tab thickness, and thread standard against the compatibility matrix before ordering to avoid misfits.
Q: How do I prevent a c beam clamp from loosening in a high-vibration environment?
A: Apply medium-strength thread-locking compound (Loctite 243) to the clamp bolt before final torque, verify jaw opening matches the actual flange thickness to maximize contact area, and where possible use a paired two-clamp configuration with a spreader between them. Schedule re-torque inspection after the first 40–80 hours of operation.
Q: What is the difference between a c beam clamp and a unistrut beam clamp?
A: A standard c beam clamp grips the external flange of an I-beam or C-channel extrusion using opposing jaw faces. A unistrut beam clamp (strut channel beam attachment) uses a serrated spring nut that locks inside the internal lips of a Unistrut C-channel. The two designs are not interchangeable — selecting the wrong type for your structure will result in zero clamping force.
Final selection summary
The right c beam clamp is never just the one with the highest load number on the label. It is the one whose jaw opening range matches your actual flange, whose material survives your environment, whose thread standard fits your rod or bolt, and whose certification level satisfies your project's authority requirements. Use the comparison tables in this guide to shortlist candidates, apply the seven-step selection checklist to narrow the field, and cross-reference the extrusion compatibility matrix if you are working with aluminum profiles from OpenBuilds, 80/20, Misumi, or Faztek. Install to torque spec, use thread-locking compound in any vibration application, and plan a re-torque inspection after the first operational period. Get those four things right, and a c beam clamp installation will outlast the structure it serves.
Keywords:
Recommended Reading
Leave your problems to us
If you need a solution, you can write your question and contact information in the message form, we will contact you as soon as possible after receiving it.
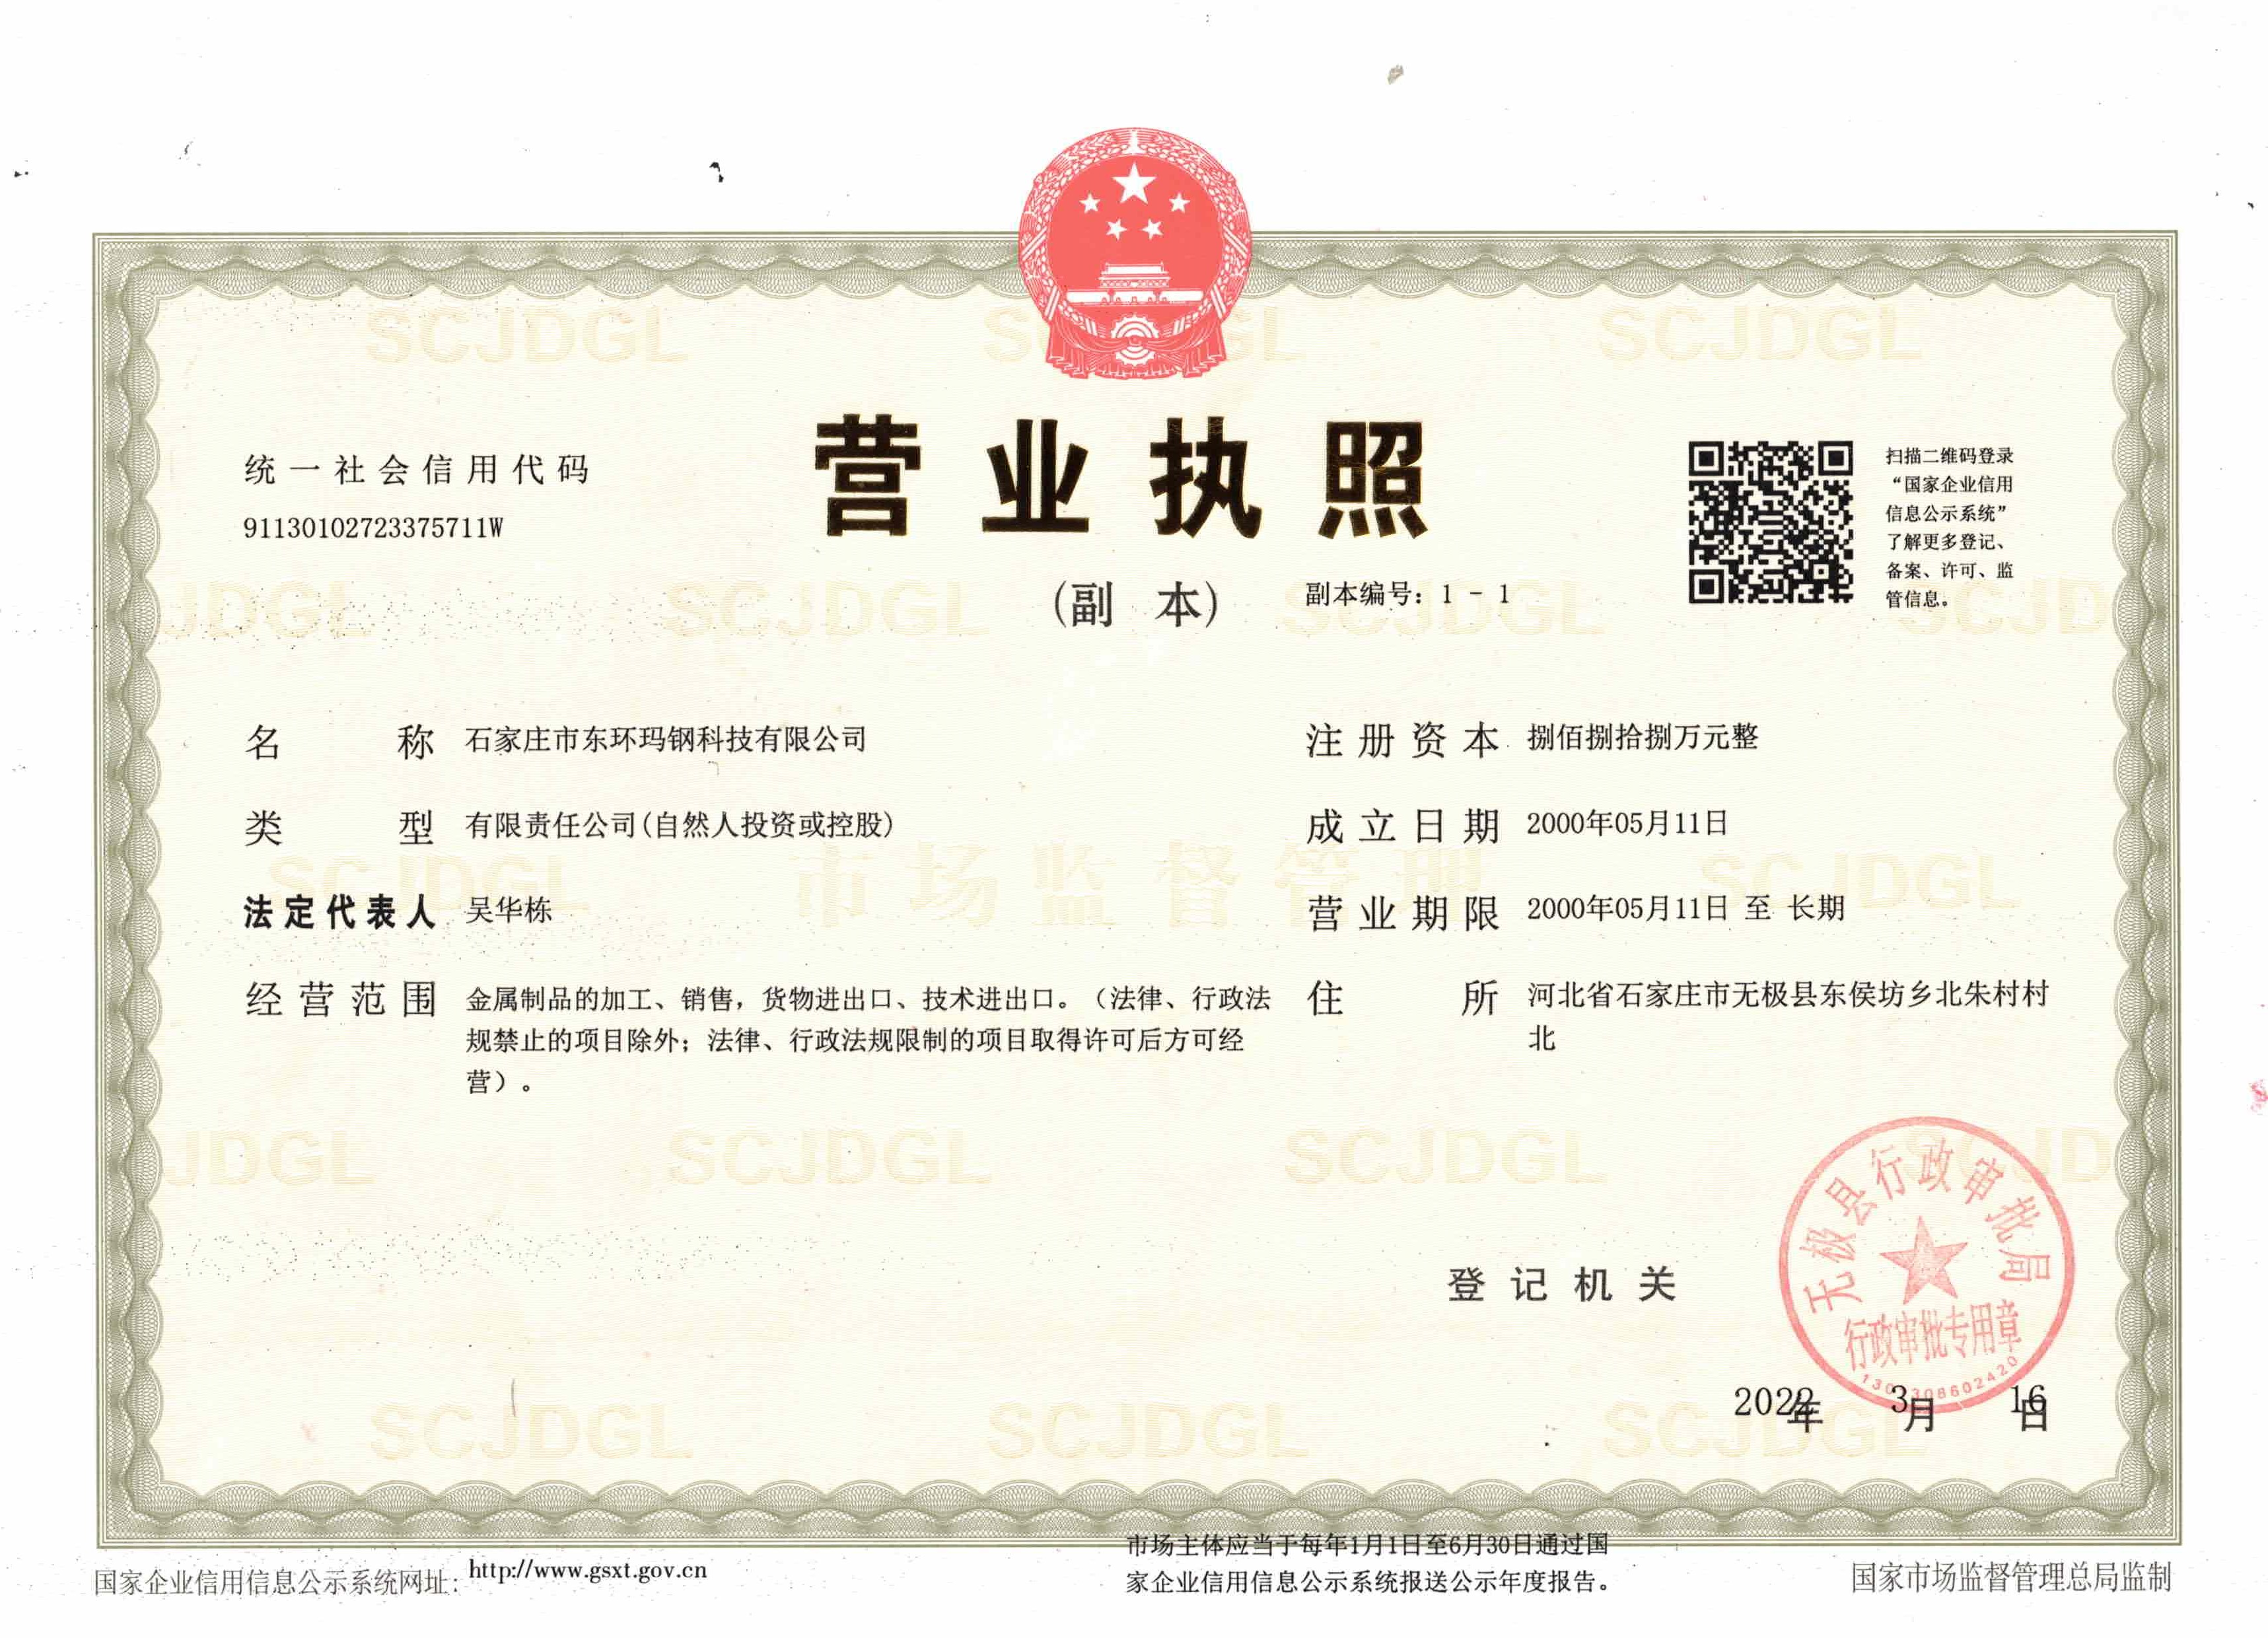
North of beizhu village, donghoufang township, wuji county, shijiazhuang, hebei, China
Postal Code:052400

Mob web

Tiktok