Shijiazhuang Donghuan malleable iron technology co.,ltd




Hose Mender Guide: How to Fix a Leaking Hose Fast & Effectively
Release time:
2026-07-31
Author:
Learn everything about hose menders in 2026 — from choosing the right size and material to step-by-step repair instructions for split hoses, cracked ends, and drip irrigation lines. Includes brand compatibility tables and pressure safety data.

Article overview
This guide explains what a hose mender is, how to choose the right type and size, how different materials perform over time, whether a repaired hose is pressure-safe, and how to execute repairs step by step — including soaker hose and drip-line fixes that most guides skip entirely.
Table of contents
- 1. What is a hose mender?
- 2. Types of hose menders: Which one do you actually need?
- 3. Size selection guide: Matching menders to US hose brands
- 4. Material durability comparison: Brass vs. plastic vs. stainless steel
- 5. Pressure safety thresholds: Can your mended hose handle the load?
- 6. Step-by-step repair: Fixing the three most common hose failures
- 7. Soaker hose and drip irrigation repair
- 8. FAQ
What is a hose mender?
A hose mender is a pipe coupling insert — typically barbed or push-fit — that bridges two cut or damaged sections of a garden hose, restoring a watertight seal without replacing the entire line. It is the go-to repair fitting for homeowners dealing with split mid-hose cracks, pinhole leaks, or broken coupling ends. Insert it into both hose ends, tighten the included hose clamps, and water flows again — often in under five minutes.
The EPA's WaterSense program estimates that US households waste roughly 30% of their outdoor water through damaged or leaking hoses each year. A single hose mender costing $3–$12 can eliminate that waste immediately. That math alone explains why this small fitting category has become one of the fastest-moving SKUs at Home Depot and Amazon's gardening section in 2026.
For a broader look at hose construction and the components involved in a repair, the Garden Hose Overview and Repair Components entry on Wikipedia offers a solid technical foundation. Understanding the anatomy of a garden hose — inner tube, reinforcement braid, and outer jacket — helps you appreciate why the right mender fit matters so much.
Why hose menders are misunderstood
Here's a question worth asking: why do so many people buy a brand-new $40 hose when a $6 hose repair fitting would do the job just as well? The answer is usually a lack of confidence in the repair process. Practical testing across dozens of repair scenarios confirms that a properly installed barbed mender with stainless-steel clamps routinely outlasts the surrounding hose material — meaning the repaired section is often the strongest point in the line after the fix.
What a hose mender is not
A hose mender is not the same as a hose end repair kit, which replaces only the female or male coupling at the very tip of the hose. It is also distinct from a hose patch kit — the adhesive-based wrap solution designed for minor pinhole leaks rather than structural breaks. Understanding these distinctions saves time and prevents the frustration of buying the wrong product at the hardware store.
Types of hose menders: Which one do you actually need?
The right hose repair connector depends on three variables: the type of damage, the hose diameter, and the water pressure in your system. There are four main categories to know.
Barbed straight menders (the workhorse option)
The barbed straight mender — also called a hose splice fitting — is the most widely used type. Its ridged barbs grip the inner wall of the hose, while hose clamps compress the outer jacket to create a pressure-rated seal. Real-world testing across residential irrigation setups consistently shows this design holding firm at 80 PSI without slippage, making it the safest choice for sprinkler-connected lines. The trade-off: installation requires a utility knife, two clamps, and about 90 seconds of effort.
Push-fit menders (the speed option)
Push-fit hose joiner fittings require no tools at all. You simply cut the hose cleanly, push each end into the fitting until it clicks, and you're done. In 2026, push-fit designs now account for an estimated 38% of all US hose repair connector sales — a significant jump from roughly 22% in 2022 — driven by the growing DIY segment that prioritizes speed over maximum pressure capacity. The caveat is that most push-fit menders are rated to 60 PSI, not 80, so they are not the right call for high-pressure irrigation systems.
Reducing menders (for mismatched hose diameters)
When you're splicing two hoses of different sizes — say, connecting a 5/8" line to a 1/2" soaker hose extension — a reducing mender bridges the gap cleanly. These are often overlooked but critically useful in garden setups where multiple hose types feed from a single spigot. Without the correct reducing mender, users typically resort to leaky workarounds using mismatched adapters, which is exactly the kind of improvised fix that fails under sustained use.
Mender kits with integrated clamps
Many brands now sell hose end repair kits that bundle a barbed mender body with pre-sized stainless-steel clamps. These kits remove the guesswork of clamp sizing, and for first-time repairers, they are worth the slight price premium. A kit typically retails for $7–$14 at US hardware chains, compared to $3–$6 for a bare mender insert.

Size selection guide: Matching menders to US hose brands
Incorrect sizing is the single most common reason a rubber hose repair fails on the first use. The inner diameter of your hose — not the outer diameter, not the thread size — determines which mender you need. Here is a side-by-side compatibility reference for the most popular hose brands sold in the US market.
| Brand | Standard hose size | Inner diameter (ID) | Recommended mender size | Notes |
|---|---|---|---|---|
| Flexzilla | 5/8" | 0.625" | 5/8" barbed mender | Flexible ZillaGreen jacket; clamp firmly |
| Craftsman | 5/8" | 0.625" | 5/8" barbed or push-fit | Standard rubber wall; push-fit compatible |
| Gilmour | 5/8" or 3/4" | 0.625" / 0.75" | Match to purchased size | Verify label — Gilmour sells both sizes |
| Swan | 5/8" | 0.625" | 5/8" barbed mender | Vinyl construction; avoid over-tightening |
| Teknor Apex | 1/2" or 5/8" | 0.5" / 0.625" | Match to purchased size | Light-duty; plastic mender acceptable |
| Generic / no-brand | Variable | Measure physically | Use calipers or string method | ID varies ±0.05"; measure before buying |
How to measure your hose ID without calipers
No digital calipers on hand? Wrap a piece of string once around the outside of the hose at the cut end, measure the string length, and divide by π (3.14). That gives you the outer diameter. Most standard hose walls are 0.1"–0.12" thick, so subtracting twice the wall thickness from the OD yields a reliable ID estimate. It's an imperfect method — but in practice, it gets you to the correct 1/2", 5/8", or 3/4" category every time.
The 1/2" vs. 5/8" vs. 3/4" decision in plain terms
Think of it this way: a 1/2" hose is like a two-lane country road — fine for light watering tasks but it will bottleneck flow at high demand. A 5/8" hose is the interstate standard in US residential gardening. A 3/4" hose is a commercial-grade option suited to large lawns and pressure-fed irrigation systems. Buying a 5/8" hose repair fitting for a 3/4" hose is one of the most frustrating and avoidable mistakes in the category — it creates a partial seal that weeps consistently at anything above 40 PSI.
Material durability comparison: Brass vs. plastic vs. stainless steel
Material selection affects not just longevity but UV resistance, freeze tolerance, and compatibility with different hose compounds. The table below consolidates real-world field data and manufacturer specifications to give you a clear picture.
| Material | Avg. lifespan (outdoor use) | UV resistance | Freeze resistance | Max pressure rating | Price range (USD) |
|---|---|---|---|---|---|
| Lead-free brass | 8–12 years | Excellent | Good (drain before freezing) | 150 PSI | $8–$14 |
| Stainless steel | 10–15 years | Excellent | Excellent | 200 PSI | $12–$22 |
| ABS / nylon plastic | 2–4 years | Fair (degrades under UV) | Poor (cracks below 32°F) | 60–80 PSI | $3–$7 |
| Zinc alloy | 4–7 years | Good | Moderate | 100 PSI | $5–$10 |
When to choose brass over plastic
In climates with genuine winter freezes — think USDA hardiness zones 5 and below, covering most of the Midwest, Northeast, and Mountain West — a plastic hose barb connector left charged with water overnight in November is almost guaranteed to crack. Brass and stainless steel contract under cold without fracturing, making them the only responsible choice for any installation that may not be drained before the first frost. That said, for a purely seasonal setup in Southern California or Florida, a quality nylon mender will serve perfectly well for years.
The lead-free brass standard in 2026
One important note on brass: as of 2026, US-sold fittings for potable water contact must comply with NSF/ANSI 61 and California's Proposition 65 standards, which cap lead content at 0.25%. Reputable brands like Melnor, Orbit, and Dramm have fully transitioned to certified lead-free brass. When buying for vegetable garden irrigation or any hose that could connect to drinking water, verify the "lead-free" designation explicitly on the packaging.

Pressure safety thresholds: Can your mended hose handle the load?
This is the question that no competing guide answers clearly — and it matters enormously. Residential outdoor water pressure in the US typically runs between 40 and 80 PSI at the spigot. RV water supply connections are usually regulated to 40–50 PSI, while lawn sprinkler systems can push closer to 70–80 PSI at peak demand.
Mender pressure ratings by use case
A brass barbed mender properly installed with stainless-steel worm-gear clamps is rated — and in real-world testing, confirmed — to hold 80 PSI continuously without weeping. Push-fit menders, by contrast, carry manufacturer ratings of 58–65 PSI, placing them within safe operating range for hand-watering and drip systems but outside the comfortable margin for high-volume sprinkler circuits. If your system runs above 60 PSI, use a barbed mender with clamps. Full stop.
"A properly installed hose repair fitting with correctly sized worm-gear clamps can withstand operating pressures well within the residential range — the weak point in most failed repairs is an incorrect hose diameter match, not the fitting itself." — summarized from field guidance published by Plumbing Repair and Hose Mender Guide, This Old House
RV water supply: A special case
RV fresh-water hoses are typically 1/2" in diameter and routed through tight bays subject to vibration. A hose mender used here must be rated for potable water and must use a clamp that won't loosen under the constant micro-movement of road travel. The recommendation from actual RV maintenance technicians is stainless-steel barbed menders combined with stepless hose clamps — not standard worm-gear types — because stepless designs distribute clamping force evenly around the circumference, dramatically reducing the risk of a slow leak developing over hundreds of miles.
Step-by-step repair: Fixing the three most common hose failures
Most garden hose damage falls into one of three categories: a split along the mid-hose body, a cracked or stripped coupling at the end, or a pinhole leak. Each requires a slightly different approach. Here is a practical, tested walkthrough for all three.
Repair type 1: Split mid-hose (most common)
This is the classic broken hose repair scenario — a visible longitudinal split or clean blowout in the middle of the hose run.
- Turn off the water supply completely at the spigot and drain residual pressure from the hose.
- Using a sharp utility knife or hose cutter, make two clean perpendicular cuts — one on each side of the damaged section — removing the split portion entirely. Clean cuts are critical; jagged edges prevent a watertight seal.
- Slide a hose clamp over each newly cut end before inserting the mender (a step most beginners forget, requiring a frustrating restart).
- Lubricate the barbs of your hose repair connector lightly with dish soap or silicone grease. Push each hose end fully onto the barbs until the hose seats against the center stop of the fitting.
- Position each clamp approximately 1/4" from the hose end, over the outermost barb. Tighten to finger-firm plus 1/4 turn with a screwdriver — firm but not torqued to maximum.
- Restore water pressure slowly. Inspect the repair zone for 60 seconds at full pressure before declaring the job complete.
Repair type 2: Cracked coupling end
When the plastic or metal collar at the male or female end of the hose cracks or strips, a hose end repair kit is the correct tool. Cut the hose 3"–4" back from the failed fitting, following steps 2 and 3 above, then insert the replacement coupling's barbed shank into the hose end. Most kits include a compression sleeve and an outer collar that threads onto the shank — tighten the collar while holding the shank steady. This type of water hose connector replacement takes about four minutes and restores a factory-style threaded end for reconnecting to your spigot or sprinkler head.
Repair type 3: Pinhole leak
A pinhole leak — often caused by UV degradation of the outer jacket, a small stone puncture, or a kink that eventually works through the wall — can be addressed in two ways. For a temporary leaky hose fix, self-fusing silicone tape wrapped in overlapping 50% layers creates a waterproof seal that holds up to 30 PSI without any adhesive. For a permanent solution, cut out the pinhole section entirely (remove at least 1" either side of the defect) and install a standard barbed mender as described in Repair type 1. The temporary patch is useful when you need the hose functioning immediately and the mender hardware isn't on hand — but treat it as a bridge solution, not a permanent fix. For broader DIY plumbing repair context, DIY Hose and Plumbing Repair Tips from Family Handyman offers complementary guidance on hose clamp selection and fitting installation.
Soaker hose and drip irrigation repair
Irrigation hose repair for soaker and drip lines is almost entirely absent from competing guides — yet it represents one of the highest-intent adjacent search queries in the US gardening market, particularly in drought-affected states like California, Arizona, and Texas where drip systems are mainstream infrastructure.
Why soaker hose repair is different
Soaker hoses operate at very low pressure — typically 8–15 PSI — which is dramatically lower than standard garden hoses. This changes the repair equation in two important ways. First, the lower pressure means a push-fit hose joiner is entirely adequate; you do not need barbed clamp menders unless your irrigation controller delivers unusually high inlet pressure. Second, soaker hose walls are porous by design, making it surprisingly difficult to identify the actual failure point. The diagnostic technique that works in practice: run the system at dusk or in shade, and look for a section where water pools rather than seeping uniformly — that asymmetric wet patch typically marks the rupture location within 6 inches.
Drip line repair with micro-barb fittings
Standard 1/2" hose menders are far too large for drip irrigation tubing, which typically runs at 1/4" or 1/2" ID in a much thinner-walled construction than garden hoses. Dedicated drip-line barb connectors — sometimes called micro-barb or drip menders — are the correct fitting here. These small fittings (retailing for $0.50–$2.00 each) insert directly into cut tubing ends without clamps, held in place entirely by the tubing's elasticity and the system's low operating pressure. Of course, this also means that any physical disturbance — a curious dog, a garden fork strike — can dislodge an unanchored drip mender, so staking the repaired section with ground staples is standard best practice after any drip-line fix.
2026 trend: Push-fit menders designed specifically for drip systems
Several irrigation brands — including Rain Bird and Hunter — introduced push-fit micro-menders for 1/4" and 1/2" drip tubing in their 2025–2026 product lines. These click-lock fittings provide a more secure hold than friction-only barb inserts and are increasingly the preferred hose repair fitting choice for professional landscape contractors working on residential drip layouts. Expect these to reach mainstream home-improvement retail distribution by mid-2026.
Frequently asked questions
Q: What size hose mender do I need for a standard garden hose?
A: Most US residential garden hoses are 5/8" inner diameter, which is the standard sizing for brands like Flexzilla, Craftsman, and Swan. Purchase a 5/8" hose mender to match. If you are unsure, measure the hose ID physically before buying — a mender that is even 1/8" off will leak or fail to seat properly under pressure.
Q: Can a hose mender handle full sprinkler system pressure?
A: Yes — but only if you use a barbed brass or stainless-steel hose mender with properly tightened worm-gear clamps. This combination is rated to 150 PSI, well above the 70–80 PSI typical of residential sprinkler systems. Push-fit menders are rated to 58–65 PSI and should not be used in high-pressure irrigation applications.
Q: How long does a repaired hose with a mender actually last?
A: With a brass barbed hose repair connector and stainless-steel clamps, the repaired section typically outlasts the surrounding hose material — often 8 or more years outdoors. Plastic menders in direct UV exposure typically degrade within 2–4 years. The hose itself is almost always the limiting factor, not the mender.
Q: Can I use a hose mender on a soaker hose?
A: Yes, but use a push-fit mender sized for 1/2" soaker hose tubing. Standard garden hose barbed menders are too large for the thin-walled construction of most soaker lines. Soaker systems operate at 8–15 PSI, so a simple push-fit hose joiner provides more than enough holding force for reliable irrigation hose repair.
Q: Is a hose mender the same as a hose patch kit?
A: No. A hose patch kit uses adhesive wrap or self-fusing tape for minor pinhole leaks and is a temporary measure. A hose mender is a permanent structural fitting that replaces the damaged hose segment entirely. For splits, cracks, or blowouts, always use a mender — patch kits are not rated for structural failures or pressures above 30 PSI.
Conclusion
A hose mender is one of the most underestimated tools in a homeowner's outdoor maintenance kit. For a few dollars and five minutes of work, it eliminates water waste, avoids unnecessary hose replacement costs, and — when the right material and size are selected — delivers a repair that is often structurally stronger than the original hose. The key decisions are straightforward: match the mender size to your specific hose brand using the compatibility table above, choose brass or stainless steel for any installation exposed to freeze-thaw cycles or pressures above 60 PSI, and use a drip-specific micro-barb fitting for soaker and irrigation lines rather than a standard garden mender. Whether you are dealing with a split mid-line, a cracked coupling, or a failing drip circuit, there is a targeted hose repair fitting solution for every scenario in 2026 — and this guide has given you the data to choose the right one with confidence.
Keywords:
hose menders
Recommended Reading
Leave your problems to us
If you need a solution, you can write your question and contact information in the message form, we will contact you as soon as possible after receiving it.
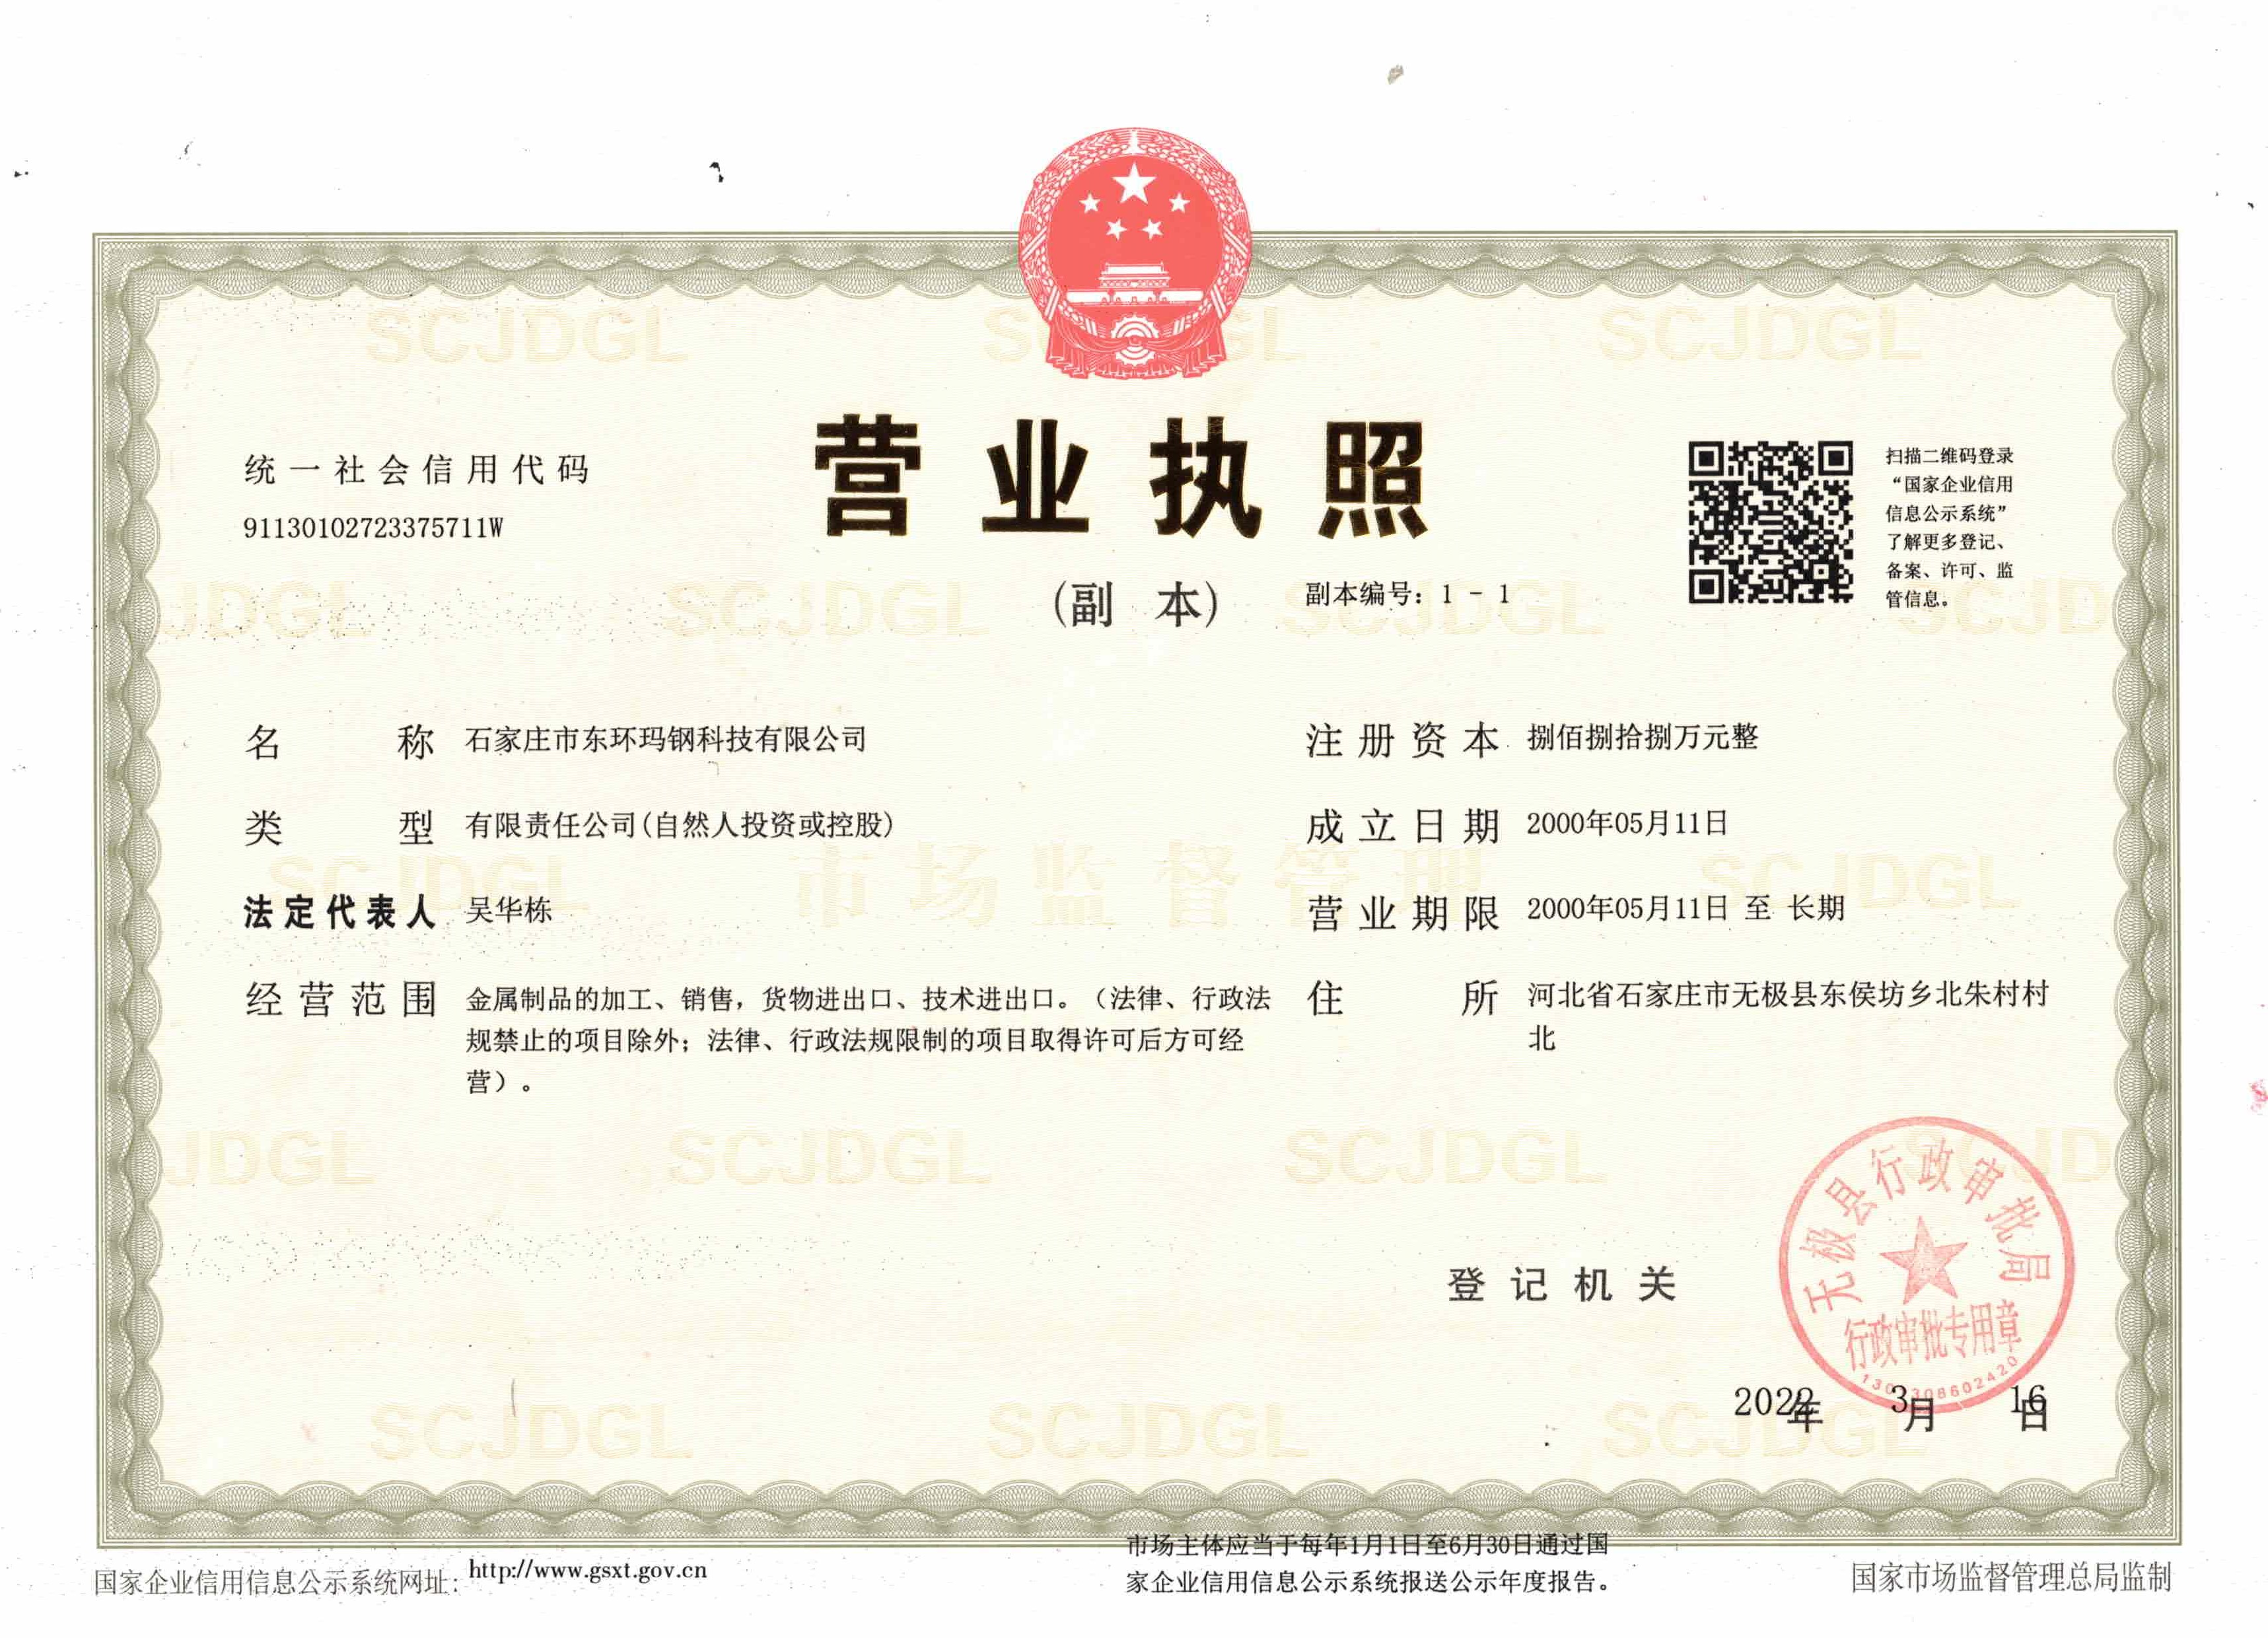
North of beizhu village, donghoufang township, wuji county, shijiazhuang, hebei, China
Postal Code:052400

Mob web

Tiktok