Shijiazhuang Donghuan malleable iron technology co.,ltd




3 simple steps for leak-free SS compression fittings
Release time:
2026-06-05
Author:
Install ss compression fittings leak-free in 3 steps: prep tubing, position nut and ferrule, tighten and test. Avoid leaks with correct technique.

You can achieve leak-free ss compression fittings in just three steps:
Prepare tubing and fittings with care.
Position the nut and ferrule correctly.
Tighten and test for leaks with precision.
These steps work for both beginners and professionals. Pay close attention to how you place each part. Use the right amount of force when tightening. Always check for leaks before finishing your job.
Prepare Tubing and Fittings

Getting the tube ready is very important for a leak-free connection. You need to do some basic steps before you start putting the tube fitting together.
Cut Tubing Square
Cutting the tubing straight helps it fit all the way in. This stops leaks and makes the seal strong.
Use Proper Cutter
Use a tube cutter made for stainless steel.
Do not use hacksaws or tools that make rough edges.
A clean, straight cut helps the ferrule hold tight.
Ensure Clean Edge
Look at the cut end for rough spots or bent parts.
If the cut is not straight, the ferrule cannot seal well.
If the end looks uneven, cut it again to fix it.
Tip: A flat end lets the pipe touch the inside stop in the fitting body.
Deburr and Clean
Sharp bits or dirt can hurt the ferrule and cause leaks. You must take off all sharp edges and clean the tubing.
Remove Burrs
Use a deburring tool to smooth the inside and outside edges.
Never skip this step. Burrs can cut the ferrule and cause leaks.
If your tubing needs a pipe stiffener, put it in now and make sure it is even.
Wipe Tubing
Wipe the tubing with a cloth that does not leave lint.
Take off oil, dirt, and metal shavings.
Dirt can stop a good seal and cause leaks.
Check Fitting Parts
Before you put things together, look at every part. Broken or wrong parts can make leaks or cause the fitting to fail.
Inspect Nut and Ferrule
Look at the nut and ferrule for cracks, dents, or rust.
Always use the right ferrule type for your job.
Do not mix different materials to stop rust.
Confirm No Damage
Make sure all parts do not have any damage you can see.
Change any broken parts before you keep going.
Clean all fitting parts to get rid of dirt.
Note: Industry standards say to check tubing ends for burrs or damage before you put them together. This step is very important for a leak-tight connection.
If you follow these steps, your tube fitting will work well. Careful tube prep lowers the chance of leaks and helps your system last longer.
Position Nut and Ferrule
Correct placement of the nut and ferrule is essential for a leak-free connection. You must follow each step carefully to avoid mistakes that can cause leaks.
Slide Nut Onto Pipe
Start by sliding the nut onto the pipe. The nut must go on before the ferrule.
Make sure the threaded side faces the fitting body.
If you put the nut on backward, you cannot tighten the fitting properly.
Double-check the nut’s orientation before moving to the next step.
Tip: Always slide the nut first. If you forget, you will need to remove the ferrule and start over.
Place Ferrule Correctly
Next, place the ferrule onto the pipe. The ferrule is the small ring that creates the seal.
Position the ferrule so the wider end faces the nut.
The narrow end should point toward the fitting body.
Do not force the ferrule. It should slide on easily.
If you use a two-piece ferrule, check the order. The front ferrule goes on first, followed by the back ferrule.
Make sure both ferrules sit flat against the nut and pipe.
Misplaced ferrules can cause leaks and damage.
Note: Ferrules must match the fitting type. Using the wrong ferrule can lead to failure.
Insert Pipe Fully
Now, insert the tube into the fitting body. This step is critical for a secure seal.
Push the pipe until it stops inside the fitting.
You must insert the tube all the way to the internal shoulder.
Ensure Full Seating
Fully seating the pipe allows the compression ring to grip the pipe. This creates a strong, leak-proof connection.
If you do not insert the tube completely, the ferrule cannot seal properly.
A fully seated pipe maintains the integrity of the assembly under high pressure.
Alert: Never leave a gap between the pipe end and the fitting shoulder. Gaps can cause leaks and weaken the connection.
Align Pipe Straight
Keep the pipe straight as you insert the tube.
Misalignment can prevent the ferrule from sealing.
Hold the pipe steady and check that it sits squarely in the fitting.
Tip: Before tightening, gently pull the pipe back. If it moves, push it in again until it stops.
You must follow these steps every time you assemble a stainless steel compression fitting. Careful placement of the nut and ferrule, along with full pipe insertion, ensures a reliable, leak-free connection.
Install ss compression fittings
Tightening the nut the right way is the most important part when you put in ss compression fittings. You need to use the correct steps so you do not get leaks or break anything.
Hand-Tighten Nut
First, twist the nut with your hand. Turn it until you feel it stop moving easily. The nut should touch the fitting body all the way. Do not use a wrench or pliers yet. Tightening by hand helps the ferrule line up and gets the ss compression fittings ready for the last step.
Tip: Tightening by hand stops cross-threading and helps the double ferrule tube fitting sit in the right spot.
Mark for Reference
Draw a line on the nut and fitting body with a marker. This line helps you see how much you turn the nut. Marking the nut keeps you from turning it too much and helps you follow the right steps.
Note: People who make the rules say you should mark the nut to do the job right. You can check ASME B31.3 Process Piping for more tips.
Tighten ss compression fittings
You need to turn the nut the right amount or use the right force. This makes sure the seal does not leak and keeps the fitting safe.
Use Correct Turns
Companies tell you how much to turn the nut for ss compression fittings. After you tighten by hand, use a wrench to turn the nut about 1¼ to 1½ more turns for most sizes. If the fitting is bigger, look at the chart for the right torque.

Try to use a torque wrench if you have one. Always follow the steps for the size of your fitting.
Avoid Overtightening
If you turn the nut too much, you can break ss compression fittings. Too much force can bend the ferrule and tubing. If the fitting cracks or splits, it will not seal and you must get a new one. Turning the nut too far can make leaks and problems in high-pressure places. Fixing these problems costs more money and takes more time. The flow can slow down and shaking can get worse.
Only tighten the fitting as much as the rules say. Stop turning when you reach the right force or number of turns. If you turn it too much, change the fitting before you try again.
Alert: Turning the nut too far makes ss compression fittings not last as long and can cause big problems.
If you tighten the nut carefully, you get a strong seal and the fitting works well. Always use the right steps and method for ss compression fittings.
Leak Test and Inspection

After you finish tightening your ss compression fittings, you must check for leaks. This step confirms that you have a leak tight seal and that your installation is safe. You can use two main methods to test for leaks: a pressure test or a soapy water test.
Pressure or Soapy Water Test
A pressure test uses air or water to check the system. You fill the line with pressure, then watch for any drop. If the pressure falls, you likely have a leak. This method works well for most stainless steel compression fittings.
A soapy water test is simple and effective. Mix water with a small amount of dish soap. Use a brush or spray bottle to apply the solution to the fitting. Watch the area closely. If you see bubbles forming, you have a leak. The bubbles show exactly where the leak is happening.
Tip: Always test at the working pressure of your system. This ensures you catch leaks that only appear under real conditions.
Check for Leaks
You need to inspect every fitting after testing. Look for signs that show a leak or a problem with the installation. Use your eyes and hands to check each connection.
Inspect for Drips or Gaps
Start by looking for visible leaks. Slow drips or sudden sprays mean you do not have a leak tight seal. Check for discoloration or corrosion around the fitting. Rust or a greenish color can point to a leak that has been present for some time. Examine the nut and ferrule for any damage. Bent or cracked parts often cause leaks and show that the fitting was not installed correctly.
Visible leaks: Watch for drips or sprays at the fitting.
Discoloration or corrosion: Look for rust or green stains.
Deformed or damaged components: Check for bent or cracked nuts and ferrules.
Run your finger around the fitting. If you feel moisture, you likely have a leak. Use a flashlight to see small gaps between the pipe and fitting body. Even a tiny gap can let fluid escape and break the seal.
Alert: Never ignore small leaks. Even a minor leak can grow and cause system failure.
If you find a leak, loosen the fitting, check the nut and ferrule, and reinstall. Make sure the pipe is fully seated and the ferrule is in the correct position. Tighten the nut to the recommended value. Test again to confirm you have a leak tight seal.
A careful leak test and inspection protect your system and help you avoid costly repairs. Always finish your installation with a full leak check.
Common Mistakes
Incorrect Cutting
You need to cut the tubing straight and smooth. If you use the wrong tool or hurry, leaks can happen. The seal will not be strong.
Use a tube cutter made for stainless steel.
Make sure your cut is straight and has no burrs.
Do not use hacksaws or tools that make rough edges.
If the cut is not even, the seal will not work right. Sharp or bumpy edges stop the ferrule from fitting tight. Leaks can show up soon after you finish.
Cutting the tubing to the right length with a tube cutter helps you avoid these problems.
Common issues from field reports:
Scratches or damage on the sealing surface stop the ferrule from sealing.
Not getting the tubing ready right can hurt the seal and make the system dirty.
Checklist for cutting:
Is the tube cutter ready?
Is the cut straight?
Are there no burrs or sharp edges?
Skipping Deburring
You must take off burrs after you cut the tube. Burrs can scratch the ferrule and make leaks. If you skip this step, the flow inside the pipe can get rough.
If you leave burrs, the ferrule cannot seal well. You might see leaks or the system may not work as well.
Always deburr both the inside and outside of the tube.
Quick steps:
Use a deburring tool or file.
Check both OD and ID to make sure they are smooth.
Wipe away any metal shavings.
Misplacing Nut or Ferrule
You must put the nut and ferrule in the right order and direction. If you mix them up, you can get leaks and weak seals.
Slide the nut onto the pipe first. The threaded side should face the fitting body.
Put the ferrule on with the wide end toward the nut.
Push the pipe all the way into the fitting.
If you put the nut or ferrule in the wrong way, the seal will not work. Ferrules can bend if you put them together wrong or push too hard sideways. This can make the seal loose.
Putting these parts in the right way is very important for a good seal.
Problems you may face:
Leaks from a bad seal.
The seal does not work if the ferrule is bent.
Loose seals from pushing too hard sideways.
Table: Common Mistakes and Effects
Always check the nut and ferrule before you tighten. This step stops leaks and makes the connection strong.
Overtightening Nut
You might think that tightening the nut as much as possible will stop leaks. In reality, overtightening causes more problems than it solves. When you apply too much force, you risk damaging the ferrule, nut, and tubing. The seal can fail, and leaks may appear soon after installation.
What happens when you overtighten?
The ferrule can deform or crack.
The nut threads may strip.
The tubing can flatten or bend.
The fitting body may split.
You should always follow the recommended number of turns or torque values. Use a marker to track how much you turn the nut. If you use a wrench, stop when you reach the guideline. Never guess or use extra force.
Alert: Overtightening shortens the life of your fitting and increases the risk of leaks.
Signs of overtightening:
The nut feels loose after tightening.
You see cracks or splits in the fitting.
The ferrule does not grip the tubing.
The connection leaks under pressure.
Quick tips to avoid overtightening:
Hand-tighten the nut first.
Mark the nut for reference.
Use a torque wrench if possible.
Stop at the recommended turns.
You protect your fittings and system when you tighten the nut correctly. Always check the manufacturer's instructions for the right amount of force.
Reusing Old Fittings
You may want to save money by reusing old nuts and ferrules. This practice leads to leaks and unreliable connections. Once you tighten a ferrule, it shapes itself to the tubing. If you remove and reuse it, the seal will not fit the new tube.
Risks of reusing old fittings:
The ferrule cannot seal properly.
The nut threads may be worn or damaged.
The fitting body may have hidden cracks.
The connection may leak under pressure.
Tip: Always use new nuts and ferrules for each installation.
Checklist for safe fitting installation:
Inspect all parts for damage.
Replace ferrules and nuts every time.
Clean the fitting body before reuse.
Never mix old and new parts.
Common problems from reused fittings:
Leaks appear soon after installation.
The system fails during pressure testing.
Repairs take longer and cost more.
You ensure a leak-free connection when you use new parts. Avoid shortcuts. Reliable fittings start with proper preparation and fresh components.
Pro Tips for ss compression fittings
Choose Right Size
You need to pick the right size for your stainless steel compression fittings. This helps stop leaks and keeps your system safe.
Match the fitting size to the tubing’s outside diameter.
Check if the threads fit together before you start.
Make sure the fitting material is okay for the fluid or gas you use.
Pick fittings that can handle the highest pressure and temperature you will have.
Choose fittings that meet rules like DIN, ISO, or EN.
When you use the right size, you get a good seal. If you use the wrong size, leaks can happen. Leaks waste energy, damage equipment, and can be dangerous. The right size keeps pressure steady and stops dirt from getting in. It also helps fittings last longer and work better.
Always look at sizing charts and instructions before you begin. For more information, check ASME B31.3 Process Piping Guidelines.
If you use the wrong size, you might get leaks. If the fitting is too big or too small, the seal will not work. You may see fluid or gas leaking soon after you finish.
Lubricate Threads (If Needed)
Putting lubricant on threads can help when you put fittings together.
Lubrication stops the parts from sticking together.
Less friction means the seal is tighter and works better.
Lubricant makes it easier to take fittings apart and put them back together.
Use a lubricant that is safe for stainless steel. Only put a little on the threads if the maker says to do it. This helps you avoid damage and makes repairs easier later.
Lubrication is very important in systems with high pressure or heat. It keeps fittings safe and working well.
Keep Spares Handy
You should have extra fittings ready when you work.
You can change broken or worn parts fast.
This keeps your system working and stops leaks.
You save time and money on repairs.
People who do this work always keep spare fittings close by. This helps you finish faster and not wait for new parts. You can fix problems right away.
Having spares means you are ready for surprises. You protect your system and save time.
To make sure your stainless steel compression fittings do not leak, follow these steps:
Cut the pipe so it is clean and smooth. Remove any sharp bits.
Put the nut and ferrule on in the right order.
Tighten the nut as the instructions say and check for leaks.
If you install everything carefully, you get a strong seal that does not leak. Using the right tools and following each step helps you avoid mistakes. When you take your time, your connections work well and last a long time.
FAQ
How tight should you make SS compression fittings?
You should hand-tighten the nut, then use a wrench for 1¼ to 1½ turns. Do not overtighten. Use a marker to track turns. Always follow the fitting size guidelines.
Can you reuse ferrules or nuts?
No. You should always use new ferrules and nuts. Used parts do not seal well and can cause leaks. New components ensure a reliable connection.
What tools do you need for installation?
You need a tube cutter, deburring tool, two wrenches, and a marker. A torque wrench helps with larger fittings. Clean cloths remove dirt and oil.
Why does my fitting still leak after tightening?
Check for burrs, dirt, or misaligned parts. Make sure the tube is fully inserted. Inspect the ferrule and nut for damage. Replace any faulty parts and retighten.
How do you test for leaks?
Apply soapy water to the fitting and watch for bubbles. You can also use a pressure test. Always check at the system’s working pressure for best results.
What size tubing works with SS compression fittings?
Match the fitting size to the tubing’s outside diameter. Common sizes include ¼", ½", and ¾". Always check the manufacturer’s chart for correct sizing.
Do you need to lubricate the threads?
Lubricate threads only if the instructions say so. Use a lubricant safe for stainless steel. Too much lubricant can affect the seal.
Keywords:
ss compression fittings
Recommended Reading
Leave your problems to us
If you need a solution, you can write your question and contact information in the message form, we will contact you as soon as possible after receiving it.
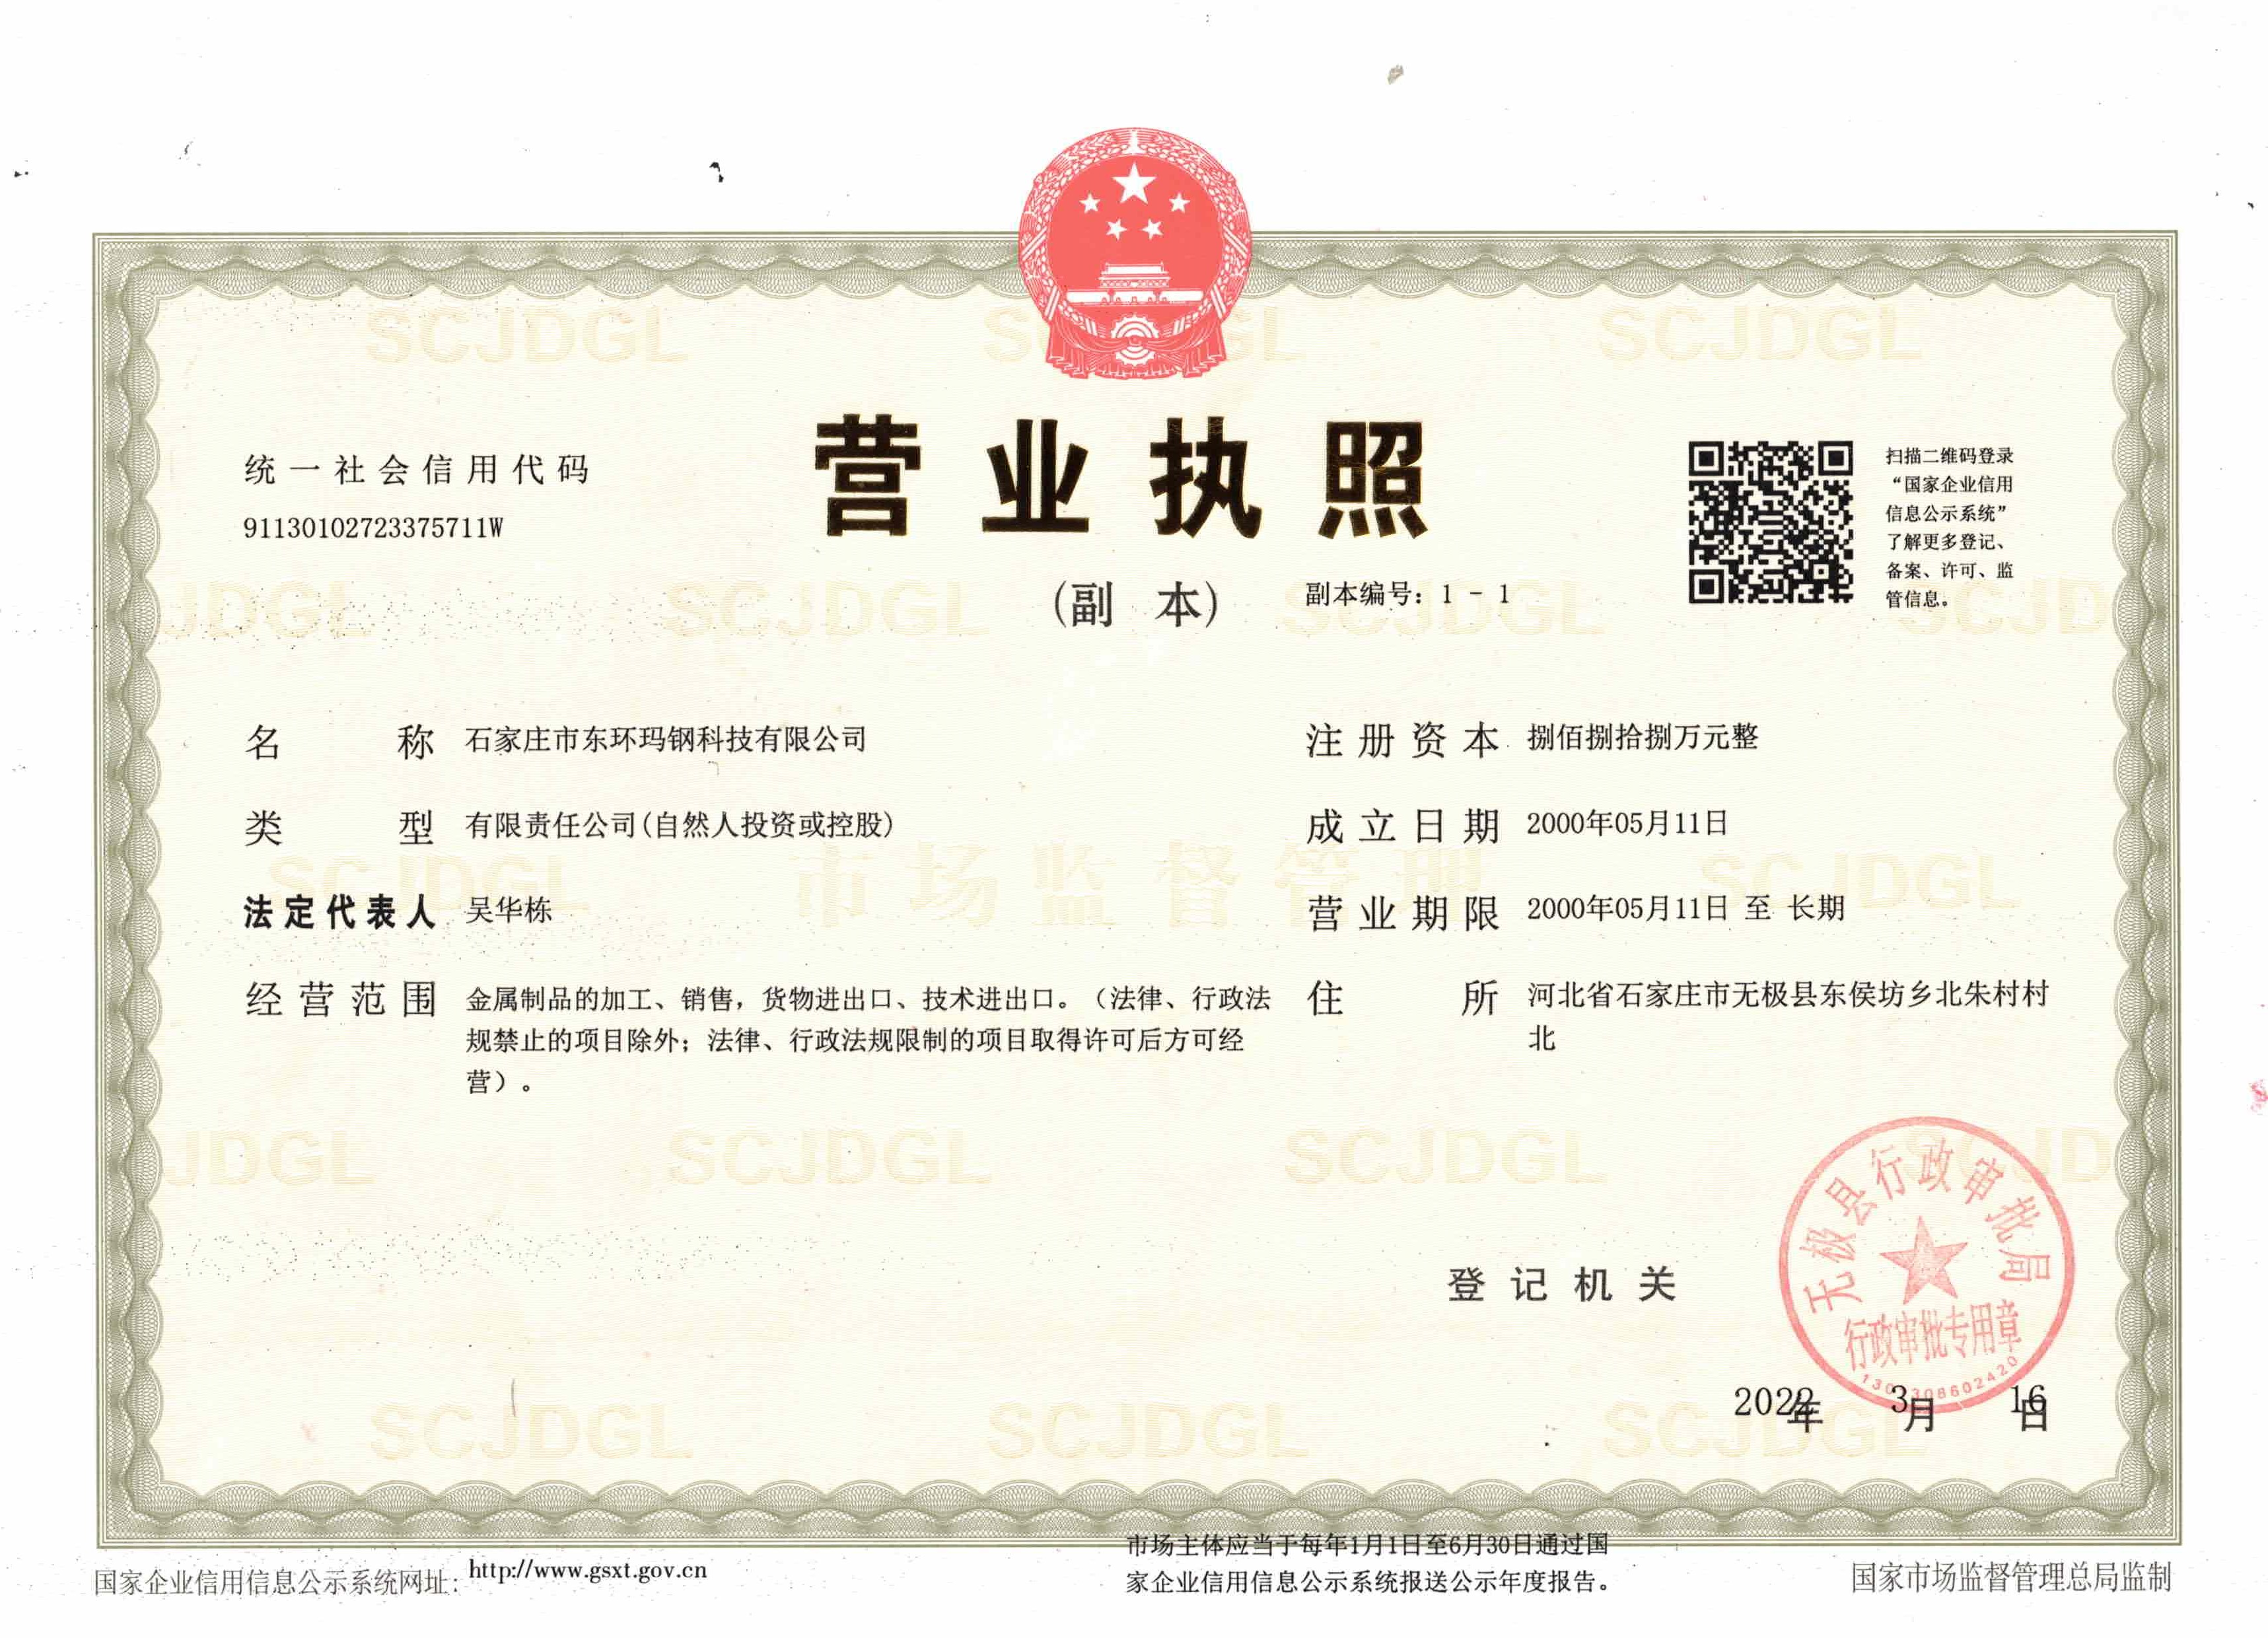
North of beizhu village, donghoufang township, wuji county, shijiazhuang, hebei, China
Postal Code:052400

Mob web

Tiktok